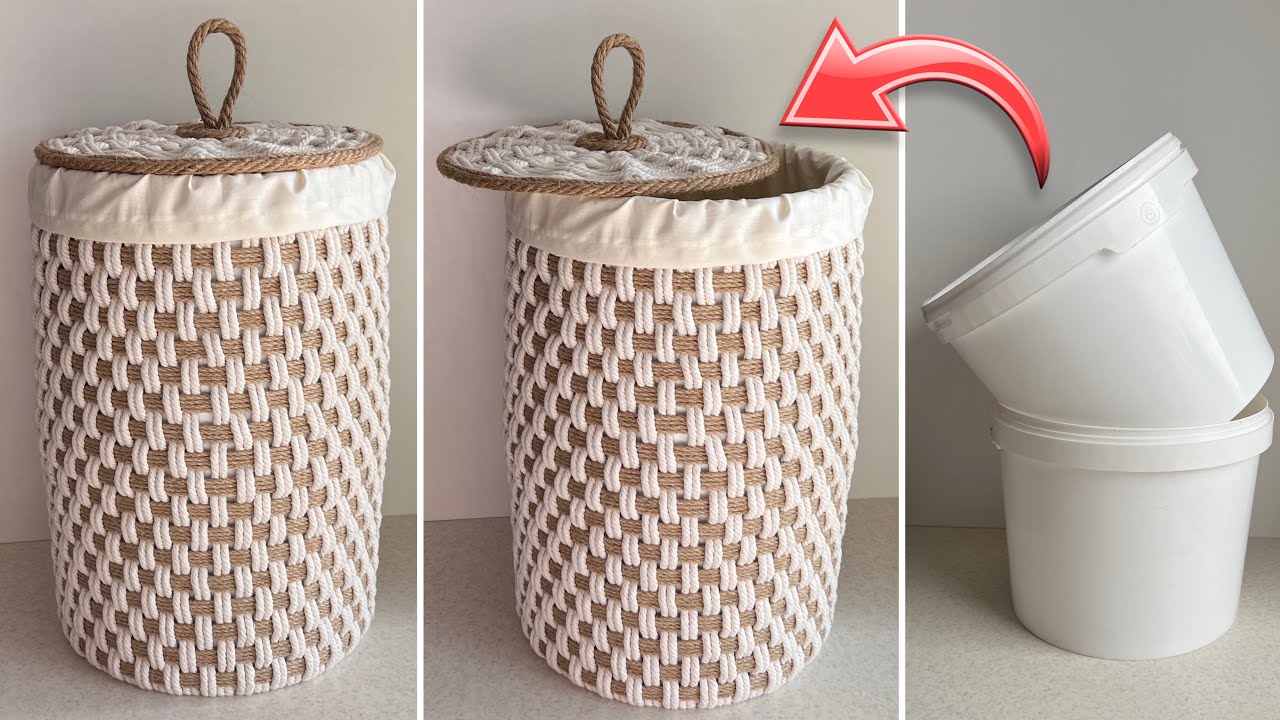
Transform 2 Buckets into a Stylish Storage Basket: Easy DIY Idea You’ll Love!
Transform Two Buckets into a Stylish Storage Basket: An Easy DIY Idea You’ll Love
- Introduction
- Required Materials
- Step-by-Step Instructions
- Creative Personalization Ideas
- Common Mistakes to Avoid
- FAQ
- Conclusion
Introduction
You may find yourself with a couple of unused buckets lying around your home, wondering how to repurpose them into something functional and stylish. Whether they’re plastic or metal, transforming these simple items into a chic storage basket can bring both order and charm to your space. This project not only helps declutter but also adds a creative touch to your home decor. Keep reading to uncover how to embark on this enjoyable DIY journey.
Required Materials
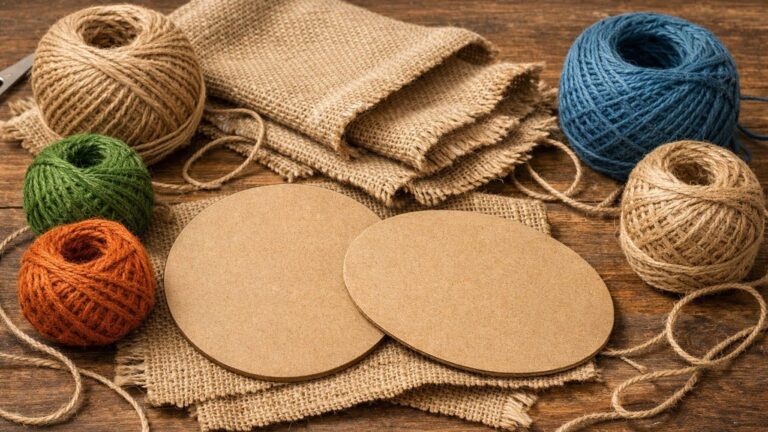
Before diving into your DIY project, gather the necessary materials to ensure a smooth process. Here’s what you’ll need:
- Two buckets (plastic or metal)
- Cord or rope for handles
- Fabric or paint for decoration
- Hot glue gun or screws (depending on bucket type)
- Scissors
- Measuring tape
- Pencil
Step-by-Step Instructions
Now that you have your materials ready, let’s go through the steps to create your stylish storage basket from two buckets.
- Design your layout: Place the buckets side by side and visualize how you’d like them positioned. You can stack them or keep them horizontal.
- Prepare the buckets: If using plastic buckets, you might want to sand them lightly to help the paint or fabric adhere better.
- Decorate the buckets: Use fabric or paint to cover the outside. If you choose to paint, let them dry completely before proceeding.
- Attach the buckets: Use a hot glue gun or screws to join the two buckets securely. Make sure they are aligned properly.
- Add the handles: Cut your cord or rope to the desired length and attach it to the sides of the buckets, creating a comfortable grip.
- Finish up: Inspect your storage basket for any rough edges or misplaced elements and make adjustments as needed.
Creative Personalization Ideas
Your storage basket can truly reflect your unique style with some personalized touches. Here are a few ideas:
- Choose vibrant colors: If painting, go for bold hues or patterns to make your basket stand out.
- Add stencils or decals: Consider incorporating stencils with your favorite quotes or designs to give it a unique flair.
- Consider adding cushions: If you want to use your basket for seating, a comfy cushion on top can enhance comfort and functionality.
- Use fabric scraps: Repurpose leftover fabric for patchwork designs, adding texture and warmth to your basket.
Common Mistakes to Avoid
While creating your DIY storage basket, be mindful of these common pitfalls:
- Ignoring the weight capacity: Ensure that the buckets you choose can hold the items you plan to store without cracking or breaking.
- Neglecting drying time: Be patient with the paint or adhesive. Rushing may lead to smudging or structural failure.
- Choosing unsuitable materials: Ensure the rope or handles are robust enough for frequent use to prevent them from tearing or breaking.
- Inadequate measurements: Always measure and double-check the dimensions before cutting or attaching materials for the best fit.
FAQ
Can I use any type of bucket for this project? Yes, both plastic and metal buckets work well, but ensure they’re sturdy enough to hold your items.
How can I make my storage basket waterproof? Consider using waterproof paint or lining the inside with a plastic liner to protect against moisture.
What other uses can I have for my bucket storage basket? Beyond storage, it can serve as a decorative planter, a pet bed, or even a cozy seat with a cushion added on top.
Conclusion
Transforming two buckets into a stylish storage basket is a rewarding DIY project that enhances both your space and creativity. By following these steps and incorporating your personal touches, you’ll create something both functional and beautiful. Have you tried repurposing items in your home? Share your experiences in the comments!