Transform 5 Glass Bottles into Stylish Wall Lamps You’ll Love!
Transform Glass Bottles into Stylish Wall Lamps
Introduction
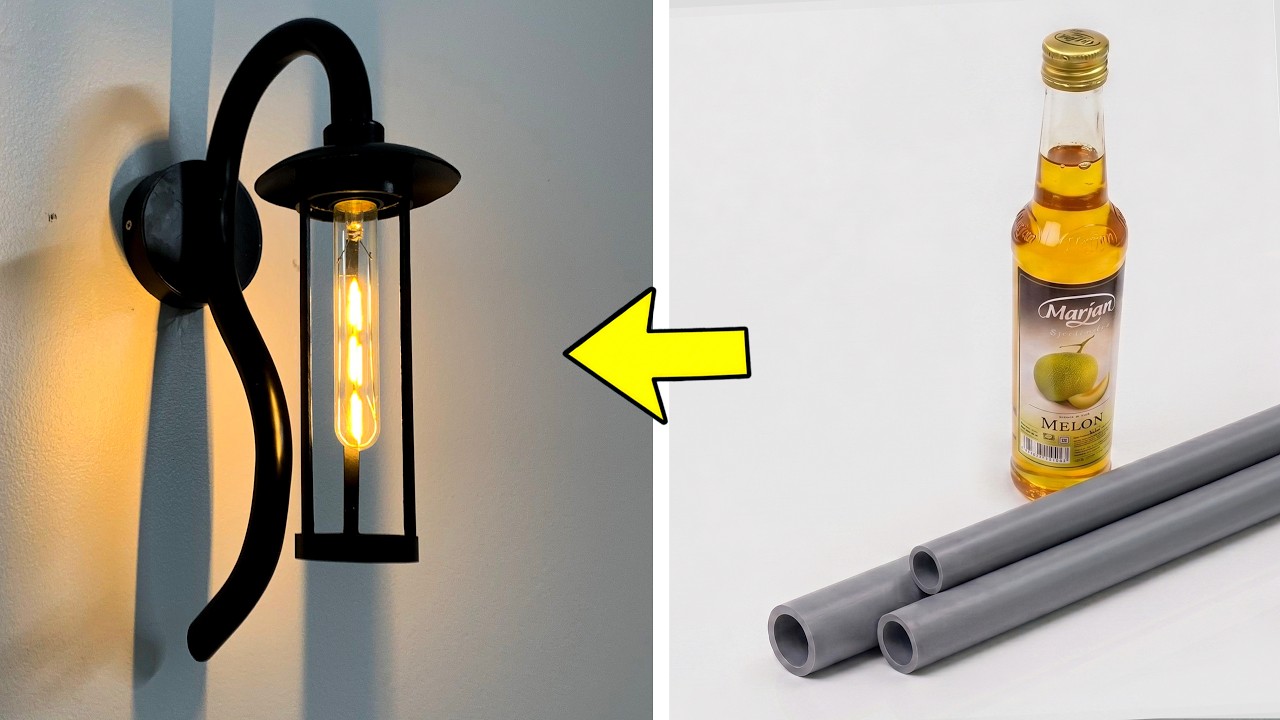
Have you ever found a beautiful glass bottle that you just couldn’t bear to throw away? Instead of letting it collect dust or clutter your space, you might be looking for a creative way to transform it into something beautiful. Glass bottle wall lamps can not only light up your home, but also add a unique touch to your decor. Let’s explore how to turn those charming bottles into stylish wall lamps you’ll love.
Required Materials
Before diving into the transformation process, gather the materials you’ll need:
- Glass bottles (5 for this project)
- Wall lamp kits (available at home improvement stores)
- Wire cutters
- Drill with glass drill bit
- Safety goggles
- Sandpaper
- Optional: Paint or decorative materials
Once you have everything ready, you’re set for an enjoyable DIY project!
Step-by-Step Tutorial
Transforming glass bottles into wall lamps involves a series of straightforward steps:
1. Prepare Your Bottles
- Clean the bottles thoroughly, ensuring no labels or residue remain. You want a clean surface for working.
- Sand the edges of the holes you will drill; this reduces the risk of injury and gives a finished look.
2. Drill the Bottles
Using a drill with a glass drill bit:
- Mark where you want the bulb to fit on the bottle. Typically, a hole near the bottom works best.
- Drill slowly and carefully, applying light pressure to avoid cracking the glass.
3. Assemble Your Wall Lamp
Now that your bottles are ready, it’s time to turn them into lamps:
- Feed the electrical cord through the holes you drilled.
- Attach the socket according to the wall lamp kit instructions.
- Secure the base of the lamp, ensuring everything is stable and safe.
4. Customize Your Design
This is where you can get creative:
- Paint the bottles for a pop of color or leave them clear for a modern look.
- Consider adding twine or ribbon around the bottle neck for a rustic charm.
- Hang the lamps at varying heights for a designer look.
5. Install and Enjoy
Finally, it’s time to position your new lamps:
- Choose a suitable wall for installation with easy access to a power source.
- Secure the lamp to the wall using appropriate brackets or screws.
- Test the light to ensure everything functions correctly.
Common Mistakes
As you embark on this DIY adventure, be mindful of these common mistakes:
- Not wearing safety goggles during drilling can lead to eye injuries.
- Using the wrong drill speed may cause the glass to crack; always drill slowly.
- Skipping the sanding step can create sharp edges that are dangerous to handle.
- Rushing the assembly can lead to loose fittings and electrical issues.
FAQ
Can any glass bottle be used for this project?
While most glass bottles can work, thicker bottles tend to be better for durability.
Is it safe to use electrical components with glass?
Yes, as long as you follow safety precautions and use suitable components designed for light fixtures.
How do I clean my glass bottle lamps?
Use a soft cloth and mild detergent to gently clean your lamps, avoiding harsh chemicals that can damage the glass.
Conclusion
Transforming glass bottles into stylish wall lamps is a rewarding project that adds uniqueness to your home. By following these steps, you can create beautiful lighting that showcases your creativity. What designs are you considering for your own bottle lamps? Feel free to share your ideas in the comments!