This simple trick transforms cuttings into stunning roses using just plastic bottles…
This Simple Trick Transforms Cuttings into Stunning Roses Using Just Plastic Bottles
Get Started with Rose Cuttings
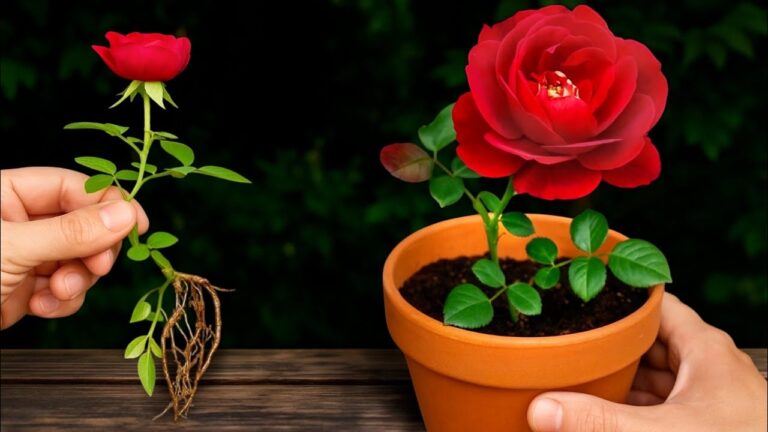
Are you a passionate **rose lover** eager to cultivate beautiful blooms right at home? This easy guide will show you how to grow roses from cuttings using just **plastic bottles**. With a few simple steps, you can transform your love for roses into a thriving garden.
Supplies You’ll Need
- Plastic bottles (2-liter or 1-gallon works best)
- Sand (for drainage and support)
- Pruning shears (for cutting the rose branches)
- Water (to keep the cuttings moist)
Step-by-Step Guide
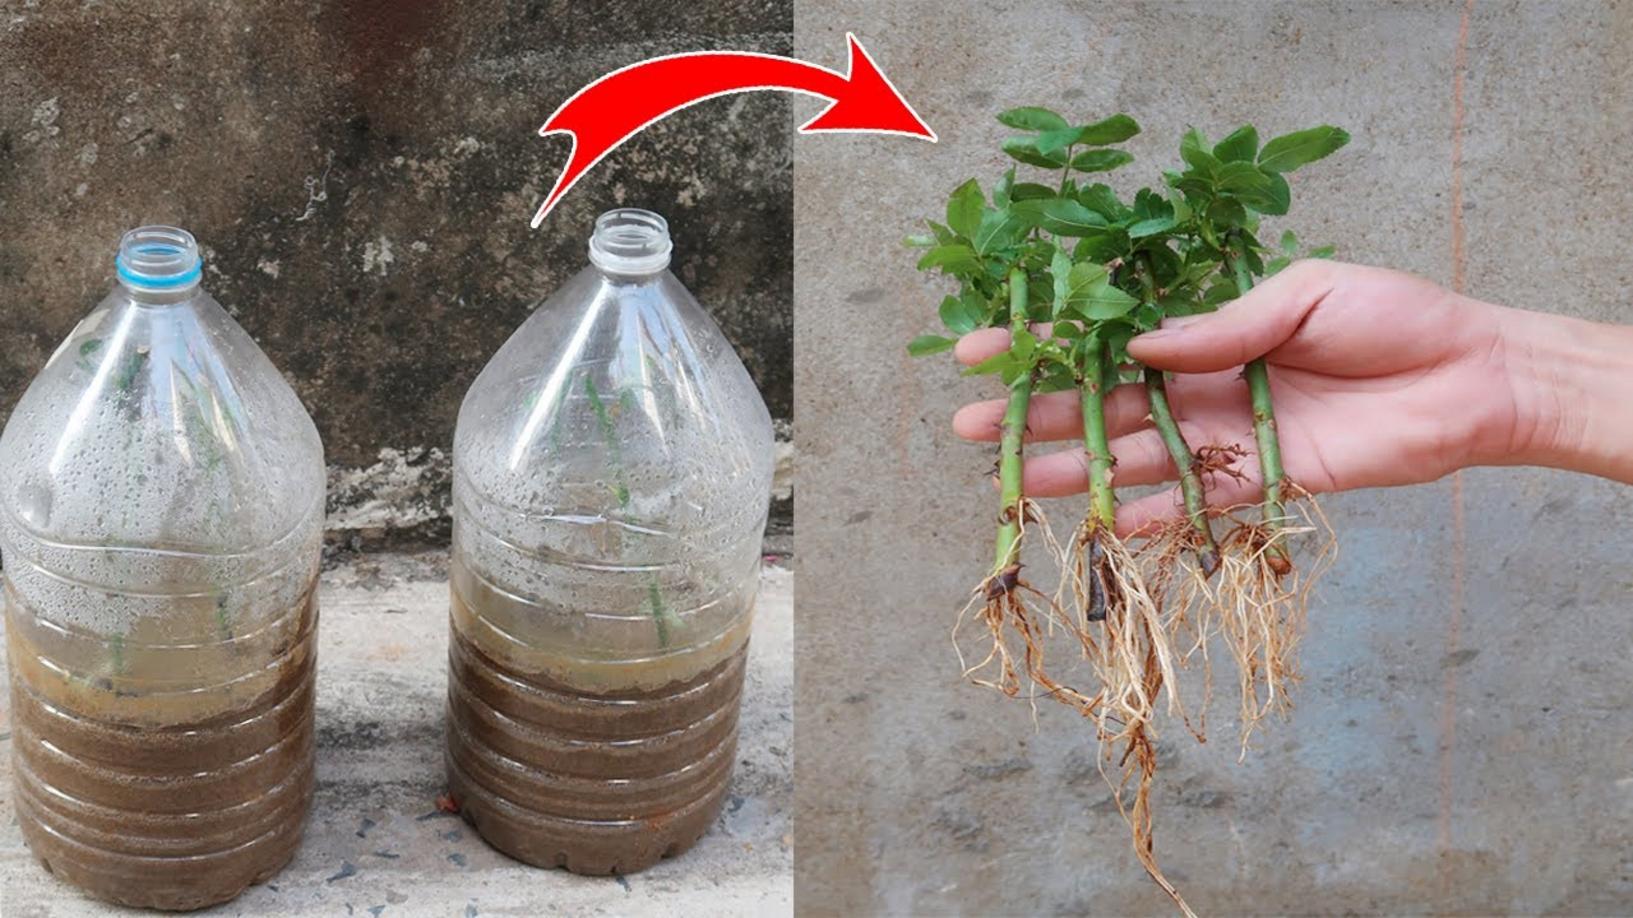
1. Prepare the Plastic Bottles
Begin by cutting your plastic bottles in half. The bottom half will serve as a mini greenhouse for your rose cuttings. Ensure there are holes drilled in the bottom for **drainage**. This is crucial to prevent water from stagnating and affecting the roots.
2. Add Sand
Fill the bottom half of the bottle with clean **sand**. Sand provides excellent drainage and mimics the natural environment for roses. Leave some space at the top to avoid overfilling.
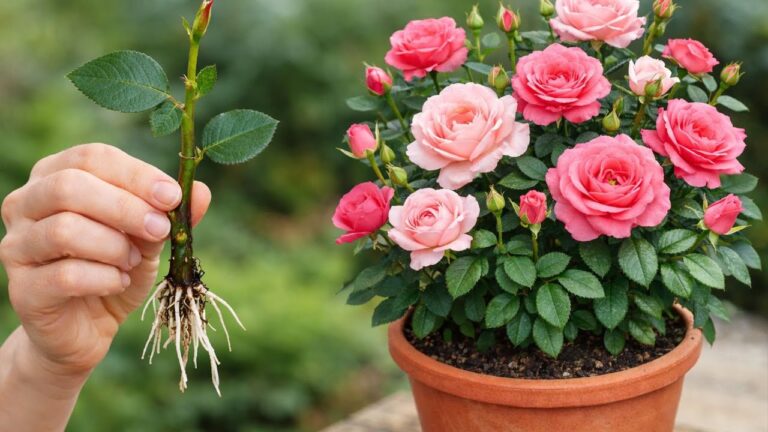
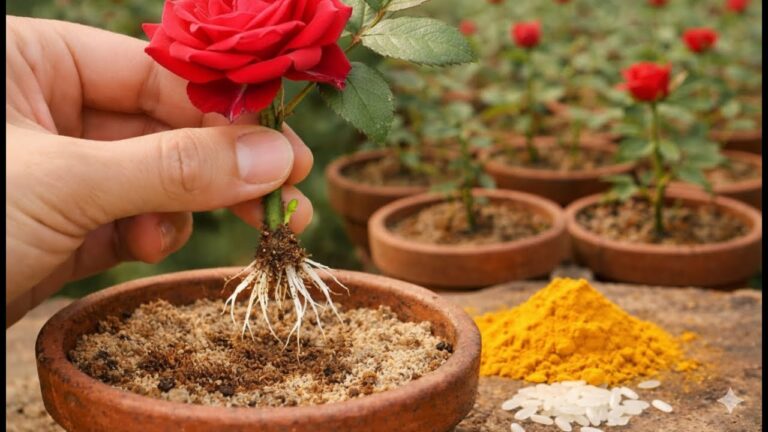
3. Take Rose Cuttings
Select healthy rose branches and cut them into lengths of about **20 cm**. Ensure each cutting has at least two nodes, as this is where roots will form. Use clean, sharp **pruning shears** to make a clean cut.
4. Insert the Cuttings
Make a small hole in the sand with a pencil or your finger, then insert the cuttings about 5 cm deep. Make sure the nodes are buried, as this is where the roots will sprout.
5. Cover and Moisture
Place the top half of the bottle back on and seal it securely. This will create a **humid environment**, ideal for growing roots. Remember to keep an eye on moisture levels and ensure the sand does not dry out.
6. Monitor Growth
Over the next month, keep your cuttings in a warm, bright spot but out of direct sunlight. After about **30 days**, you should start seeing roots developing. You can gently tug at the cuttings to feel for resistance, which indicates that roots are forming.
7. Transplanting
Once you’ve confirmed that roots have developed, you can carefully transplant your rose cuttings into pots or into your **garden soil**. Gently remove the cuttings from the bottle, being mindful not to disturb the new roots.
Practical Tips
- Choose healthy branches: Only use cuttings from healthy, disease-free plants.
- Be patient: Root development can take time, so don’t rush the process.
- Keep it clean: Sanitize your tools before cutting to avoid introducing diseases.
Common Mistakes to Avoid
- Overwatering: Too much moisture can lead to rot. Ensure good drainage.
- Incorrect cut length: If the cuttings are too short, they may not root effectively.
- Placement mistakes: Avoid direct sunlight initially; it can scorch the cuttings.
Conclusion: Embrace Your Inner Gardener!
Transforming cuttings into stunning roses is not just a rewarding process; it’s a joyful journey into the world of gardening. By using simple materials like plastic bottles, you can foster beautiful blooms at home. So gather your supplies and **get started** today! Don’t forget to share your journey and results with fellow gardening enthusiasts. Happy planting!