This simple idea transforms pine cones into stunning decor… you won’t want to miss this!
This simple idea transforms pine cones into stunning decor… you won’t want to miss this!
If you’re looking for **creative DIY projects** that add a personal touch to your home, using **pine cones** is a fantastic way to start. Not only are they natural and eco-friendly, but they can also be easily transformed into stunning decor. This guide will walk you through a fun and straightforward process to create your own delightful decorations with pine cones and texture-rich materials like stockings.
Materials You’ll Need
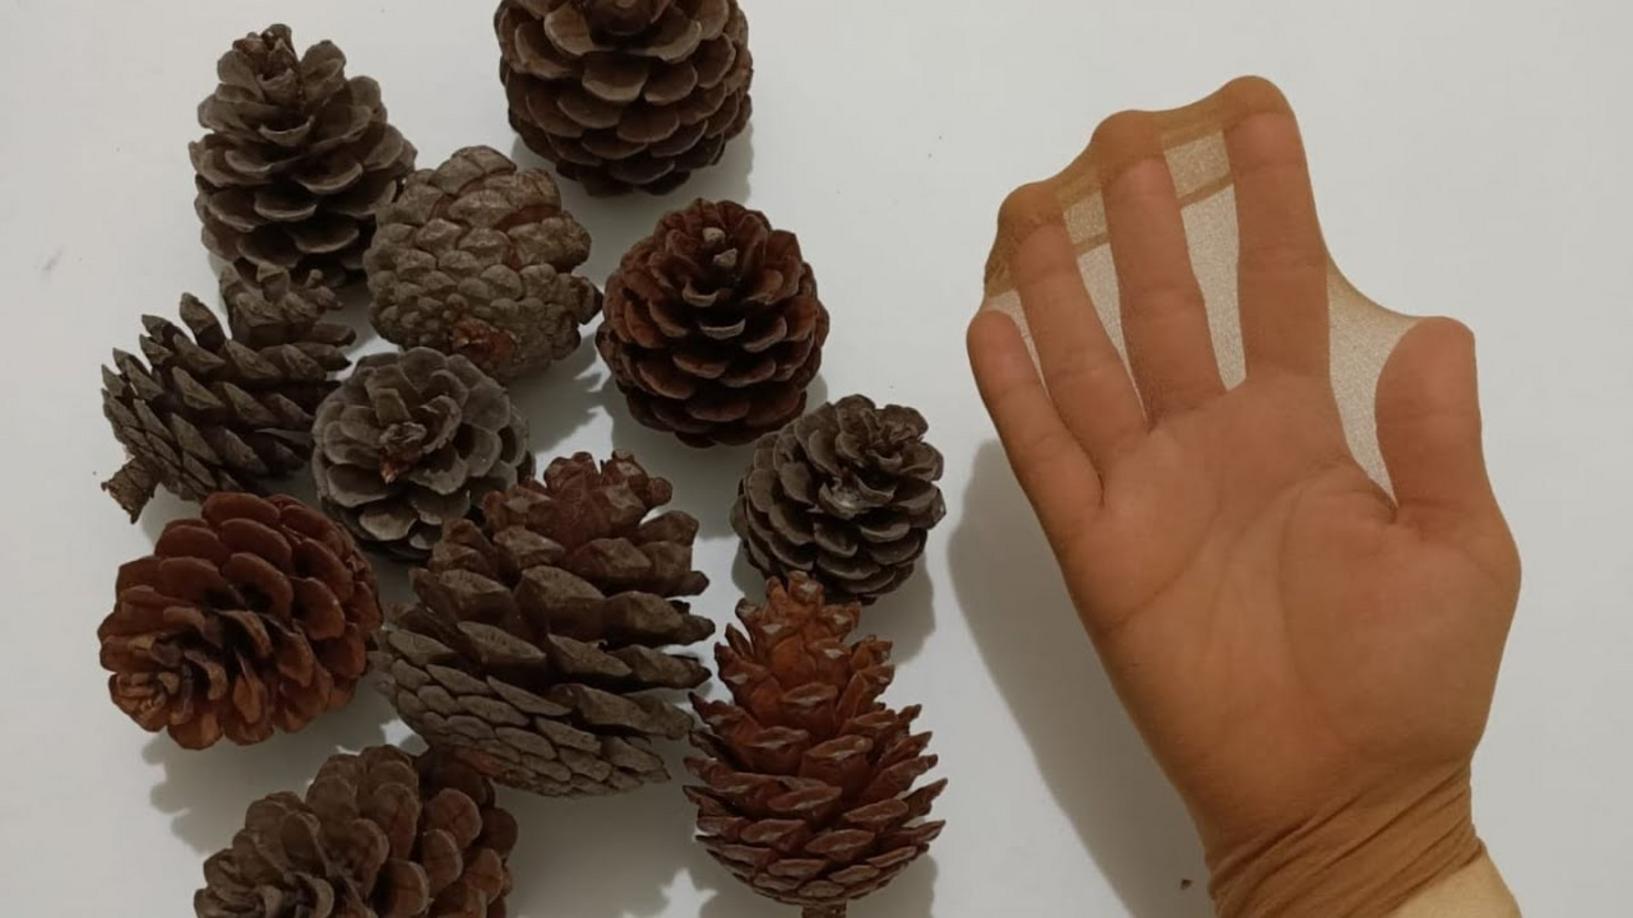
- Pine cones
- Tan or neutral-colored stockings
- Scissors
- Adhesive (hot glue or craft glue)
- Decorative embellishments (optional)
Step-by-Step Instructions
Step 1: Prepare the Pine Cones
Start by gathering your pine cones. Clean them to remove any dirt or insects, and let them dry completely.
Step 2: Cut the Stockings
Using your scissors, cut the stockings into sections. Each section should be large enough to cover a pine cone, leaving a bit of extra fabric to secure at the bottom.
Step 3: Wrap the Pine Cones
Take a piece of the cut stocking and gently wrap it around the pine cone. Squeeze the fabric snugly around the cone, ensuring that all the curves are covered. Allow some excess fabric to gather at the bottom of the cone.
Step 4: Secure the Fabric
Once the cone is wrapped, use hot glue to secure the end of the stocking at the top. You can also add decorative touches such as ribbons or small ornaments at this stage for extra flair.
Step 5: Final Touches
Reassess your design. If you want to add any embellishments, now is the time. Whether it’s glitter, beads, or even dried flowers, personalize your creation as you wish!
Practical Tips Based on Experience
- Choose a Color Palette: Think about where you will display your pine cone decor and choose stockings that match or complement your space.
- Experiment with Sizes: Use varying sizes of pine cones to create a visually interesting display when grouped together.
- Test Various Adhesives: For different materials, ensure to use the right adhesive for securing embellishments to avoid any mishaps.
Common Mistakes to Avoid
- Too Much Glue: Using excessive glue can mar the appearance; a small amount goes a long way.
- Ignoring Drying Time: Allow everything to dry completely before handling to prevent premature wear.
- Not Experimenting: Don’t hesitate to modify the design! The joy of DIY lies in personalization and creativity.
Conclusion: Unleash Your Creativity!
This simple idea of transforming pine cones into stunning decor is a **wonderful way** to infuse your space with nature’s beauty. It’s both **budget-friendly** and **fun** to create! So gather your materials, invite friends or family to join in, and make it a crafting day. Don’t forget to share your creations with others!
Ready to start crafting? Grab your pine cones and get busy! We can’t wait to see how your beautiful pieces turn out. Like, comment, and subscribe for more **inspiring DIY** projects.