Say Goodbye to Dirty Floors and Grimy Grout: Keep Them Spotless!
Say Goodbye to Dirty Floors and Grimy Grout: Keep Them Spotless!
Are you frustrated with dirty floors and grimy grout? You’re not alone. In this article, we’re going to explore an effective solution to tackle this common household problem. Read on to discover how you can achieve spotless floors and beautifully clean grout with a simple DIY method.
The Challenge of Dirty Floors and Black Grout
Blackened grout can be one of the most disheartening issues for homeowners. It’s a problem many face, often without knowing the best course of action. Many of us want to eliminate those annoying dark spots but are unsure of how to tackle them effectively.
Fortunately, we have a natural and cost-effective remedy that can help you achieve the sparkling clean surfaces you desire. Say goodbye to unsightly black grout and hello to a pristine floor!
A Natural Solution for Grimy Grout
As mentioned, this issue affects us all and is encountered frequently. Many people tend to rely on commercial chemical products, but often find themselves dissatisfied with the results. Additionally, these products can be expensive and harmful to both health and the environment.
That’s why we’re sharing a fantastic all-natural remedy that is easy to prepare and incredibly effective. With this solution, your grout will not only be clean but also brilliantly whitened.
Steps to Craft Your DIY Cleaning Solution
This method has proven to be exceptionally effective, aiding many households in finally overcoming one of the most annoying cleaning challenges. Prepare to be amazed by the results!
Here’s how to create your own natural cleaning solution:
- Start with a plastic container.
- Add 3 tablespoons of baking soda.
- Incorporate 1 full tablespoon of liquid soap.
- Add 1 tablespoon of toothpaste.
- Finally, mix in 2 tablespoons of white vinegar.
Once all ingredients are combined thoroughly, your natural cleaning product is ready for use.
Cleaning Your Floors: Important Details
After crafting your solution, the next step is to apply it effectively:
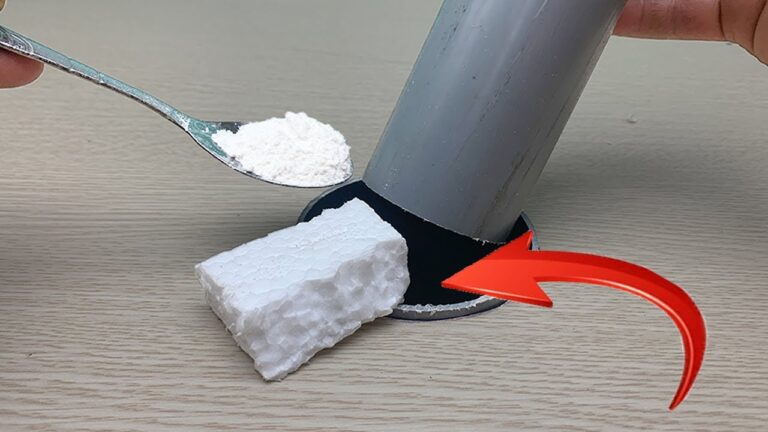
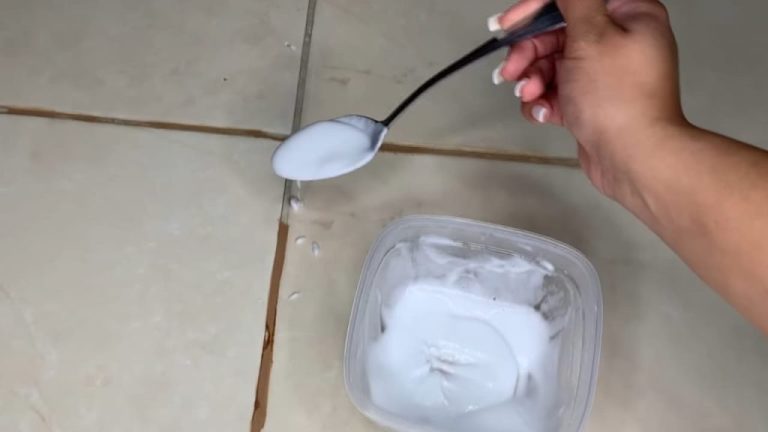
- Use a spoon to help pour the mixture onto the grout lines.
- Evenly distribute the solution over all joints you wish to whiten.
- To ensure full coverage, use your finger to spread the mixture into the grout and surfaces where applied.
Allow the mixture to sit for about 10 minutes to work its magic. Then, take a green sponge and gently scrub all the grout lines covered by the solution.
As you scrub, you’ll notice the grime lifting away. Finish up by wiping the area with a damp cloth to remove any product residues.
Enjoy Your Spotless Floors!
After following these steps, you’ll be left with beautiful, clean floors and perfectly whitened grout. This simple and effective method will leave you feeling fully satisfied with the results.
As you can see, this all-natural approach is easy to execute with ingredients you probably already have at home. Combine them for a fail-proof remedy. Just give it a try and witness the remarkable transformation of your floors!
Conclusion
Maintaining clean floors and grout doesn’t have to be a tedious chore. By using this straightforward DIY cleaning solution, you can achieve impressive results without breaking the bank or compromising your health. Say goodbye to dirty floors and embrace a fresher, cleaner home today!