Discover 5 Easy Steps to Propagate Roses Like a Pro 🌹
Master the Art of Rose Propagation in 5 Simple Steps
- Introduction
- Required Materials
- Detailed Steps for Propagation
- Common Mistakes to Avoid
- FAQ
- Conclusion
Introduction
Imagine walking through your garden and enjoying the fragrant blooms of your own propagated roses. Perhaps you’ve purchased a few varieties and wish to expand your collection without spending extra money. This task may seem daunting, but with a few simple techniques, you can easily replicate your favorite plants. Understanding the steps involved in rose propagation will have you well on your way to cultivating a beautiful rose garden. Let’s explore how to do it effectively.
Required Materials
Before you dive into the process, gather all the supplies you’ll need. Having everything at hand makes for a smooth growing experience.
- Healthy rose cuttings from an established plant
- Clean, sharp pruning shears
- Rooting hormone (optional)
- A pot or container with drainage holes
- Pots or seed trays filled with potting mix
- A plastic bag or plastic wrap
- A spray bottle filled with water
Detailed Steps for Propagation
Now that you have your materials, follow these five steps to successfully propagate your roses.
1. Take the Cuttings
- Choose a healthy parent plant, ideally one that’s not too old, but well-established.
- Using your pruning shears, cut a 6-8 inch stem just below a node or leaf.
- Remove the lower leaves, leaving only a couple of upper leaves intact.
2. Prepare the Cuttings
To encourage rooting:
- If using rooting hormone, dip the cut end of your cutting into it.
- This gives the cutting a better chance of developing roots quickly.
3. Plant the Cuttings
- Fill your pot with the potting mix and moisten it slightly.
- Make a hole in the soil for the cutting, then place it in the hole and gently firm the soil around it.
- If you have multiple cuttings, space them a few inches apart to avoid crowding.
4. Create a Humid Environment
For successful rooting:
- Cover the cutting with a plastic bag or wrap to retain moisture.
- Ensure that the plastic does not touch the leaves to prevent mold.
- Check regularly and mist the cuttings if the soil feels dry.
5. Caring for Your Cuttings
- Place the pots in a location with indirect sunlight.
- Continue to monitor moisture and ensure the soil stays damp but not soggy.
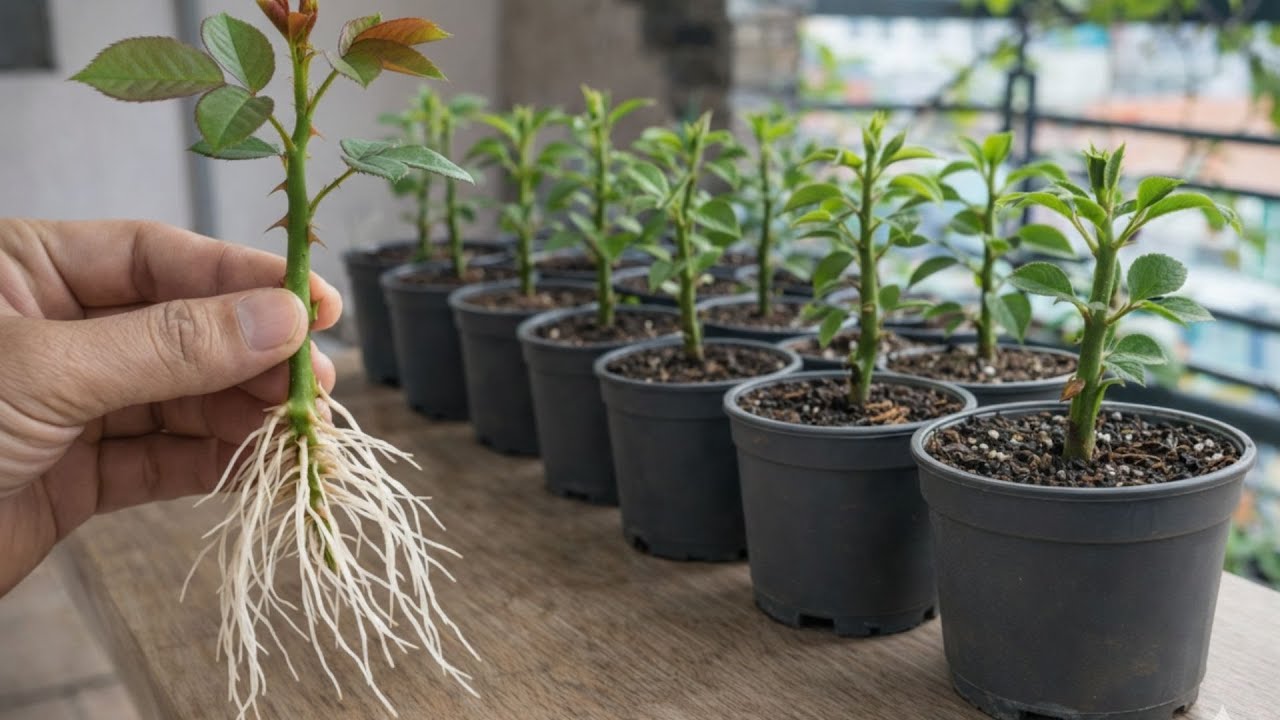
- After a few weeks, gently tug on the cutting; if you feel resistance, roots are developing!
Common Mistakes to Avoid
Even seasoned gardeners can make errors during propagation. Here are a few common pitfalls to steer clear of:
- Using old or unhealthy cuttings: Always select fresh, healthy stems.
- Neglecting moisture levels: Too much or too little water can hinder growth.
- Ignoring sunlight needs: Ensure that cuttings receive bright, indirect light but not direct sun.
- Planting too deeply: The cutting should be placed in the soil just deep enough for support.
FAQ
What time of year is best for propagating roses? Generally, late spring to early summer is the ideal time for taking cuttings.
How long does it take for rose cuttings to root? It typically takes 4 to 6 weeks for cuttings to develop roots, but this can vary based on conditions.
How do I know if my cuttings are healthy? Look for signs of new growth and keep the cuttings free from mold or pests.
Conclusion
Propagating roses can bring beauty and joy to your garden while allowing you to expand your floral collection. By following these simple steps, you’ll be on your way to enjoying your own rose seedlings. Have you tried propagating roses before? What tips do you have to share?