5-Minute Craft: Create Stunning Hair Clips for Beginners Step-by-Step!
Create Stunning Hair Clips for Beginners: A Step-by-Step Guide
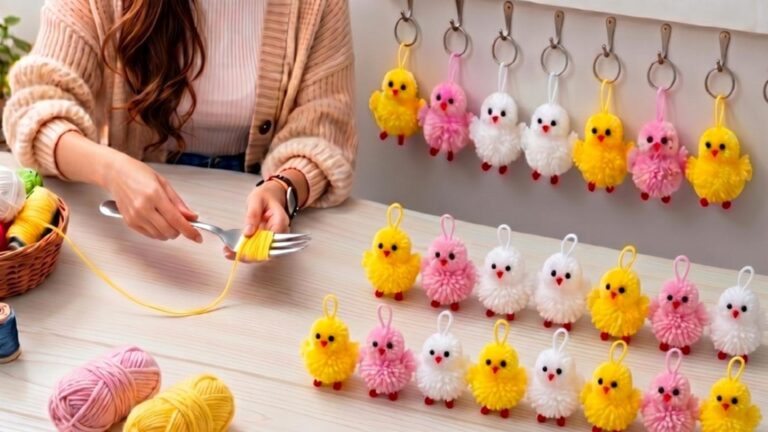
Whether you’re preparing for a special occasion or simply want to add a touch of flair to your everyday look, creating your own hair clips can be an enjoyable and fulfilling activity. Many often struggle to find the right accessory that fits their style, making it even more exciting to craft something unique. The great news is that you don’t need to be a crafting expert to make these stunning hair clips. Continue reading to discover how you can easily create beautiful accessories at home.
Required Materials
Before diving into the crafting process, gather all the necessary materials. Having everything at hand will make your experience smoother.
- Hair clips (bobby pins or alligator clips)
- Decorative elements (ribbons, beads, or faux flowers)
- Hot glue gun (or fabric glue)
- Scissors
- Wire cutters (if using beads)
- Embellishments like glitter or fabric paint (optional)
Step-by-Step Instructions
1. Prepare Your Base
Start by selecting the type of hair clip you prefer. Ensure it’s clean and free of any previous adornments. This will be the foundation for your creation.
2. Choose Your Decorations
Next, decide on the decorative elements you want to use. This could include:
- Colorful ribbons
- Shiny beads
- Small faux flowers
Lay them out before you to visualize your design. Mixing colors and textures can create a unique look.
3. Assemble Your Hair Clip
Using the hot glue gun, apply a small amount of glue to the desired area of the hair clip:
- Attach the ribbons: For ribbons, cut them to your desired length and press securely onto the clip.
- Affix beads or flowers: Apply glue to the back of the embellishments and press them into place.
- Let it dry: Allow the glue to set as per the manufacturer’s recommendations.
4. Add Finishing Touches
This is the perfect moment to personalize your hair clip further. You might choose to add:
- Glitter for some sparkle
- Fabric paint designs
Make sure any additions are securely glued and dry before wearing.
Personalization Ideas
Add a personal touch to your hair clips by trying these variations:
- Theme-based designs: Create clips for different seasons or events, such as floral clips for spring or snowflakes for winter.
- Color combinations: Experiment with contrasting colors or patterns to match your outfit.
- Layering techniques: Stack multiple ribbons or flowers to create a more dimensional look.
Your creativity knows no bounds when it comes to personalizing these accessories!
Common Mistakes to Avoid
- Using too much glue: This can make your clip bulky and less comfortable to wear.
- Not allowing sufficient drying time: Rush the drying process, and you risk your embellishments falling off.
- Overcomplicating your design: Keep it simple, especially for your first try to avoid overwhelm.
FAQ
What materials are best for decorating hair clips?
Popular options include ribbons, beads, faux flowers, and even fabric paint for engagement.
How can I make my hair clips last longer?
Ensure all elements are securely attached and store them in a cool, dry place to prevent damage.
Can I customize the size of the hair clips?
While the clip size itself is fixed, you can create larger decorative pieces to stand out more.
Creating custom hair clips is not only a fun and rewarding project but allows you to embrace your style with unique accessories. Have you tried making your own? What designs do you find most appealing? Share your thoughts below!