6 Stunning Cement Flower Pots You Can Easily Make for Your Garden
6 Stunning Cement Flower Pots You Can Easily Make for Your Garden
- Introduction
- Required Materials
- Step-by-Step Guide to Creating Cement Flower Pots
- Common Mistakes to Avoid
- FAQ
- Conclusion
Introduction
Picture this: your garden brimming with vibrant flowers, each nestled in a uniquely designed pot that adds character and charm. However, finding the perfect pots often comes with a hefty price tag. If you’ve ever felt overwhelmed by the choices in stores or wanted something more personal, you’re not alone. Cement flower pots offer a durable and customizable option that can reflect your personal style. Discover how easy it is to create beautiful, sustainable pots that will elevate your garden experience.
Required Materials
Before diving into your cement flower pot project, gather the following materials to ensure your process goes smoothly:
- Cement mix: Choose a quality mix suitable for outdoor use.
- Containers: Use plastic or cardboard containers to mold your pots.
- Water: For mixing with the cement.
- Mixing tools: A bucket, a shovel, and gloves.
- Sealant: Optional, for waterproofing your pots.
Step-by-Step Guide to Creating Cement Flower Pots
Creating your own cement flower pots is a rewarding project that can be completed in just a few steps. Follow these detailed instructions for stunning results:
1. Prepare the Mixture
- Measure the cement according to the instructions on the package.
- Add the appropriate amount of water and mix until you achieve a smooth consistency.
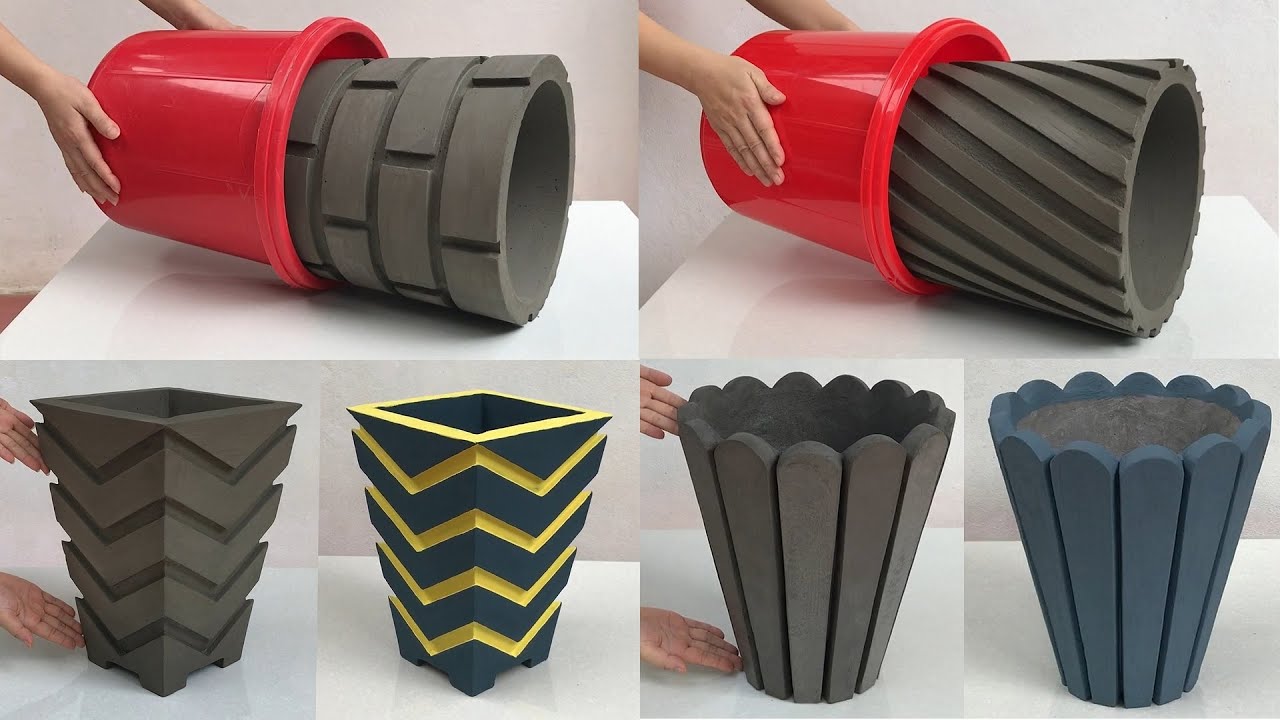
2. Choose Your Containers
If you’re looking for shapes and sizes, consider using:
- Single-use plastic cups for small pots.
- Cardboard boxes for larger pots.
- Old bowls or buckets for unique designs.
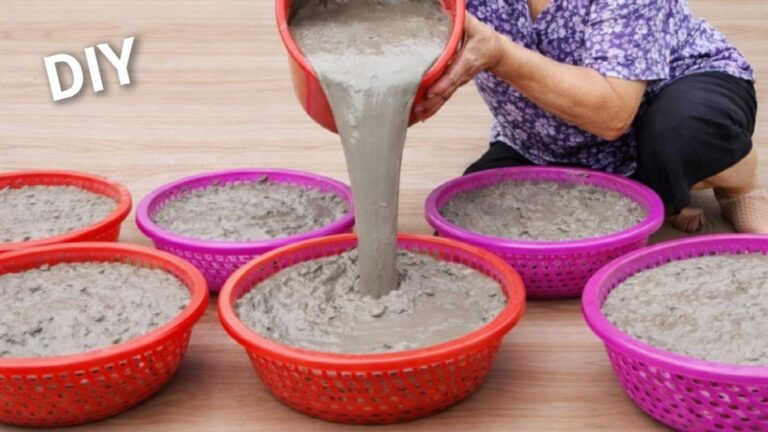
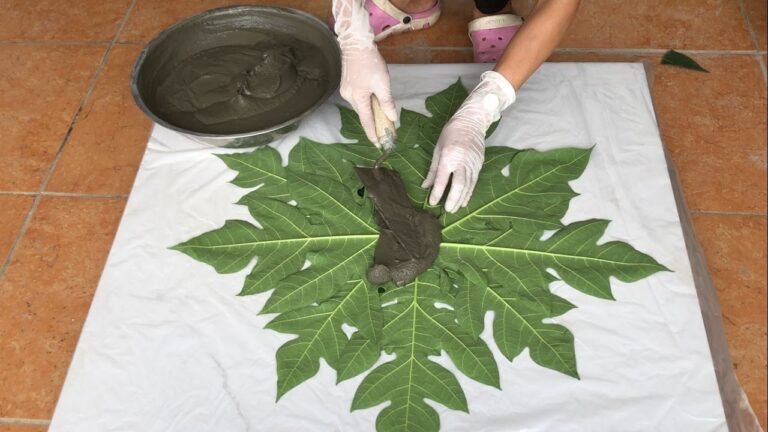
3. Form the Pots
- Pour half of your cement mixture into the selected container.
- Insert a smaller container inside to create a cavity for the soil and plants.
- Let the mixture set for 24-48 hours, ensuring it hardens properly.
4. Finish and Decorate
Once your pots are dry, you can give them a personal touch:
- Paint them with non-toxic outdoor paint.
- Add decorative stones around the top edge.
- Seal with a waterproof spray if desired.
Common Mistakes to Avoid
When creating your cement flower pots, being aware of potential pitfalls can save you time and frustration. Here are a few common mistakes:
- Not following the mixing ratios, which can affect the strength of your pots.
- Using containers that aren’t non-stick, making it difficult to remove the finished pot.
- Skipping the curing time, leading to improper hardening.
- Overwatering your pots before they’re sealed, which can cause damage or cracking.
- Neglecting to consider drainage, which is crucial for plant health.
FAQ
What type of cement should I use for flower pots?
Use a quick-setting concrete mix or a general-purpose cement mix suitable for outdoor use.
Can I customize the shape of my flower pots?
Yes, you can use various containers or molds to achieve your desired shape. Be creative with what you have on hand!
How can I ensure my cement pots last longer?
Apply a sealant to protect against moisture and UV damage, and ensure proper drainage.
Conclusion
Making your own cement flower pots not only adds beauty to your garden but also provides a fun hands-on project for you to enjoy. Take your time to choose your designs and let your creativity shine. What designs are you thinking of trying for your cement pots?