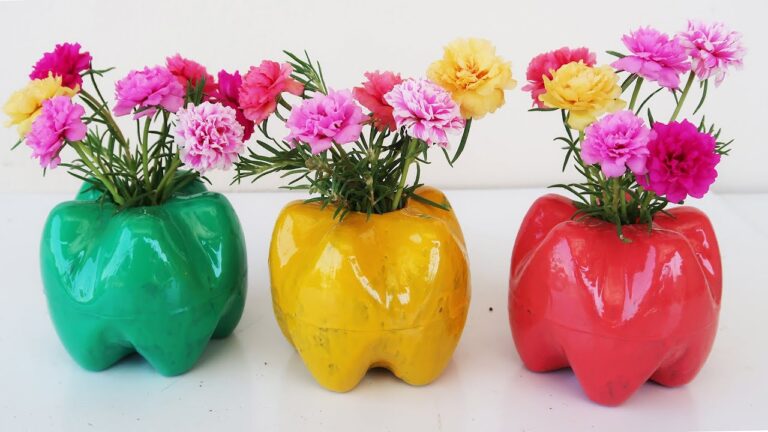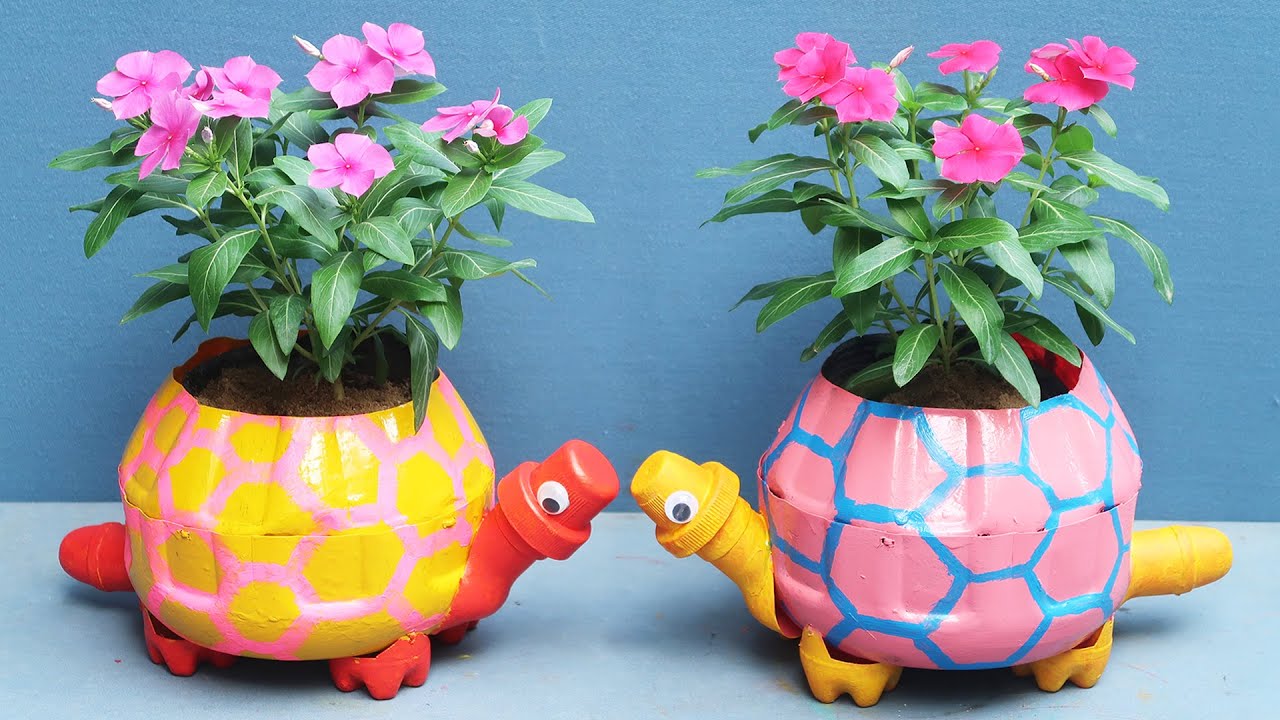
7 Steps to Create Adorable Turtle-Shaped Flower Pots from Recycled Bottles!
How to Create Adorable Turtle-Shaped Flower Pots from Recycled Bottles
- Introduction
- Required Materials
- Step-by-Step Creation
- Tips for Personalization
- Common Mistakes to Avoid
- FAQ
- Conclusion
Introduction
Have you ever looked at a plastic bottle and wondered if it could be more than just waste? Many of us often find ourselves surrounded by items we can’t seem to recycle properly. Instead of tossing them away, let’s turn them into something delightful for your garden. Crafting turtle-shaped flower pots not only uses up those bottles but also adds a touch of whimsy to your outdoor space. Dive into this creative project with me and discover how easy it is to transform everyday materials into charming decorations.
Required Materials
Before you begin your turtle flower pot project, gather the following materials:
- Two plastic bottles (one larger for the shell and a smaller one for the head)
- Scissors
- Paint (green, yellow, and any other colors you prefer)
- Brushes or sponges for painting
- Craft glue or a hot glue gun
- Soil and plants of your choice
- Decorative elements like googly eyes or stickers (optional)
Step-by-Step Creation
Creating your turtle-shaped flower pots involves a few straightforward steps:
1. Prepare the Bottles
- Cut the larger bottle in half. This will be the turtle’s shell. You can choose to keep the cap on or remove it depending on your aesthetic preference.
- Trim the smaller bottle to about a quarter of its height. This will function as the turtle’s head.
2. Paint the Shell
- Apply a coat of green paint to the outer side of the larger bottle. Allow it to dry completely.
- Add spots or patterns with yellow paint or other colors to mimic a turtle shell’s design.
3. Create the Head and Legs
- Glue the smaller bottle upside down on the shell portion where the cap would represent the head.
- Use the cut-off bits from the larger bottle to fashion four legs. Attach them by using glue at the underside of the shell.
4. Add Drainage Holes
Using your scissors, make a few small holes at the bottom of the shell for drainage. This will help prevent the plants from waterlogging.
5. Plant Your Flowers
- Fill the shell with your chosen soil mix.
- Plant your flowers or herbs in the soil, ensuring to pack the soil around the roots.
Tips for Personalization
Once you’ve built the basic shape, here are some ideas to make it uniquely yours:
- Experiment with different color palettes based on your garden theme.
- Add decorative elements like twigs or pebbles to enhance the turtle’s personality.
- Try swapping out the turtle for other animals by using different shapes and colors!
Common Mistakes to Avoid
As you embark on this fun project, keep these common pitfalls in mind:
- Not making enough drainage holes, which can harm your plants.
- Overlooking the paint drying time, leading to smudging or incomplete designs.
- Forgetting to secure the head and legs properly, which could lead to the turtle falling apart.
FAQ
Can I use any plastic bottle?
Yes, most plastic bottles can be suitable as long as you adjust the size accordingly. Ideally, use a larger bottle for the shell.
What type of plants should I use?
Consider using small flowers, succulents, or herbs that can thrive in pots. Make sure they don’t require deep soil.
How can I ensure my turtle pot lasts outdoors?
Use exterior paints and sealants to protect your creation from the elements.
Conclusion
Creating turtle-shaped flower pots from recycled bottles is a rewarding way to express your creativity while promoting sustainability. With just a few materials, you can enrich your garden and help the environment. What unique ideas do you have for recycling items in your home? Share your thoughts in the comments below.