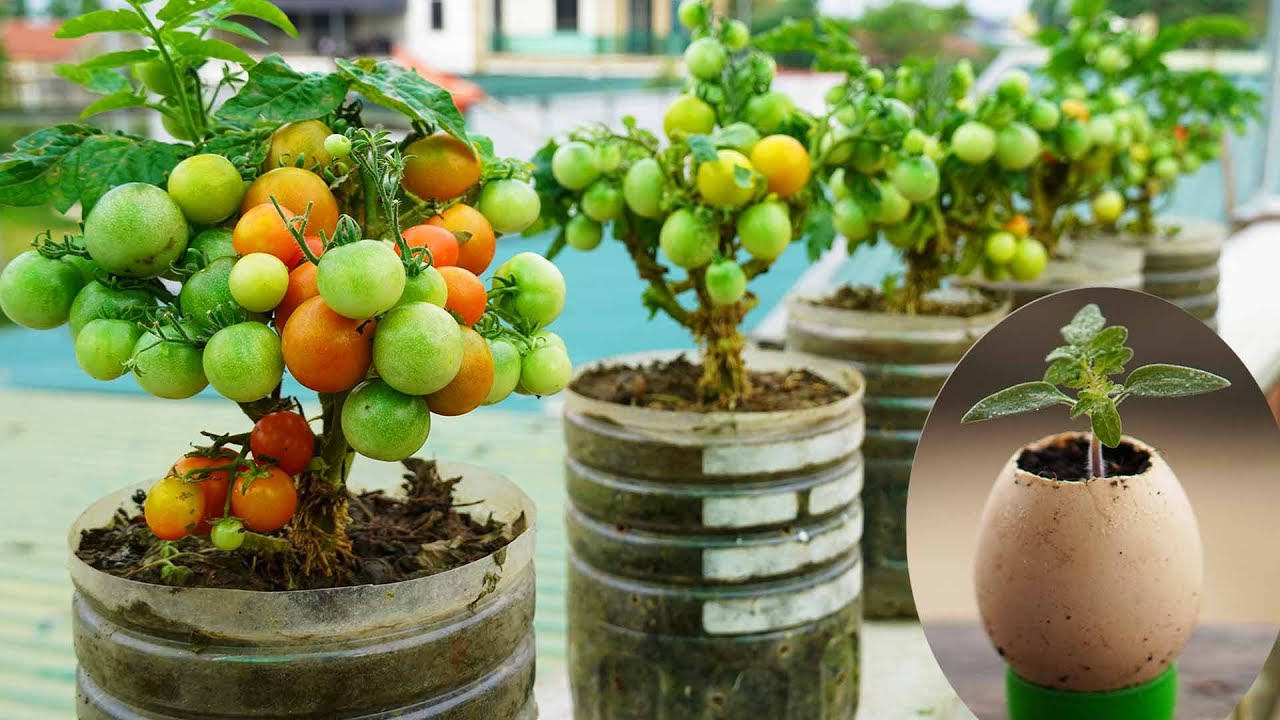
7 Easy Steps to Grow Tomatoes in Plastic Bottles for Thriving New Gardeners
Grow Tomatoes in Plastic Bottles: A Simple Guide for New Gardeners
Introduction
Have you ever wanted to grow your own tomatoes but felt overwhelmed by the process? Perhaps you’re short on space or believe you need fancy gardening tools to get started. The good news is that with a little creativity, you can easily cultivate fresh tomatoes right in your own backyard or even on your balcony. This method not only utilizes simple materials but also makes gardening accessible for everyone. Read on to discover how to make it happen.
Required Materials
Before you dive into growing tomatoes in plastic bottles, let’s gather the necessary materials. Having everything on hand will make the process smoother and more enjoyable.
- 1-2 plastic bottles (2-liter size is ideal)
- Potting soil or garden soil
- Tomato seeds or young tomato plants
- Scissors or a utility knife
- A small rock or gravel (for drainage)
Step-by-Step Guide
Now that you have all your materials, it’s time to start the actual process of growing tomatoes in plastic bottles. Follow these simple steps:
- Prepare the bottles: Rinse them thoroughly and remove any labels. This prevents toxins from affecting the plants.
- Cut the bottles: Use the scissors to cut each bottle in half. You’ll want the bottom half for planting.
- Add drainage: Place a layer of small rocks or gravel at the bottom of each bottle to help with drainage.
- Fill with soil: Pour potting soil into each bottom half, leaving a couple of inches from the top.
- Plant your seeds: Either plant the seeds directly or place young tomato plants into the soil. Ensure they are spaced apart for growth.
- Water the soil: Gently water the soil until it’s moist, but not soggy.
- Cover with the top half: If you want to create a mini-greenhouse effect, place the top half of the bottle over the bottom half. This helps retain moisture and warmth.
Tips for Success
To ensure a thriving tomato plant, consider the following:
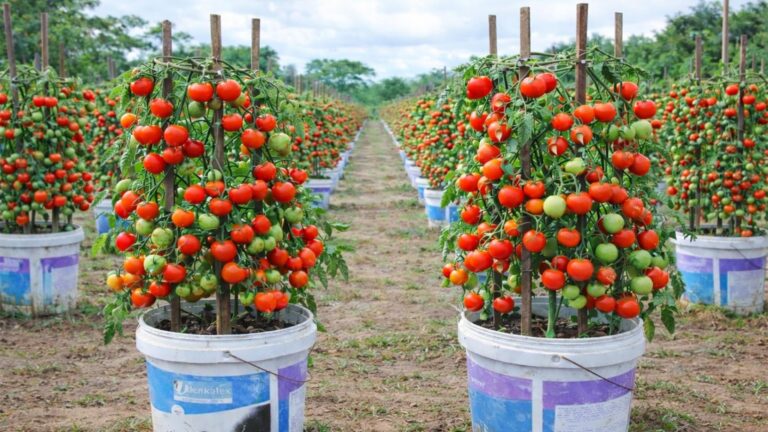
- Choose varieties that are suited for container gardening, like cherry or grape tomatoes.
- Position your bottles in a spot that receives plenty of sunlight, ideally 6-8 hours a day.
- Check moisture levels regularly; tomatoes thrive in consistent moisture but can suffer in soggy conditions.
Personalization Options
Feel free to add your personal touch to your tomato garden:
- Decorate the plastic bottles with paint or natural twine to enhance their visual appeal.
- Consider companion planting alongside your tomatoes, such as basil, to enhance growth and flavor.
Common Mistakes to Avoid
Even the best gardeners can stumble upon some common mistakes. Here are a few pitfalls to watch out for:
- Not using enough drainage: Ensure there are adequate holes or a gravel layer to prevent root rot.
- Overwatering your plants: Monitor moisture levels; too much water can be as harmful as too little.
- Ineffective sunlight: Ensure that your plants are getting enough light. Insufficient sunlight can hinder growth.
- Ignoring soil quality: Using low-quality soil can affect plant health. Aim for nutrient-rich potting soil.
FAQ
Can I use any type of bottle for growing tomatoes?
While any plastic bottle can work, larger bottles (like 2-liter) are preferred as they provide more space for roots and soil.
How often should I water my tomato plants?
Watering frequency can vary based on temperature and humidity. Typically, once every few days is a good start, ensuring the soil stays moist.
What should I do if my tomato plants start to wilt?
Check for underwatering, overwatering, or poor drainage. Adjusting your care according to the problem can help revive your plants.
Conclusion
Growing tomatoes in plastic bottles is a practical and innovative method that makes gardening enjoyable and achievable for newcomers. By following these easy steps and avoiding common pitfalls, you can enjoy fresh tomatoes right from your own space. What creative ideas do you have for utilizing recycled materials in your gardening journey?