5 Simple Steps to Fix Your Shower with PVC Pipes You Didn’t Know About
5 Simple Steps to Fix Your Shower with PVC Pipes
Introduction
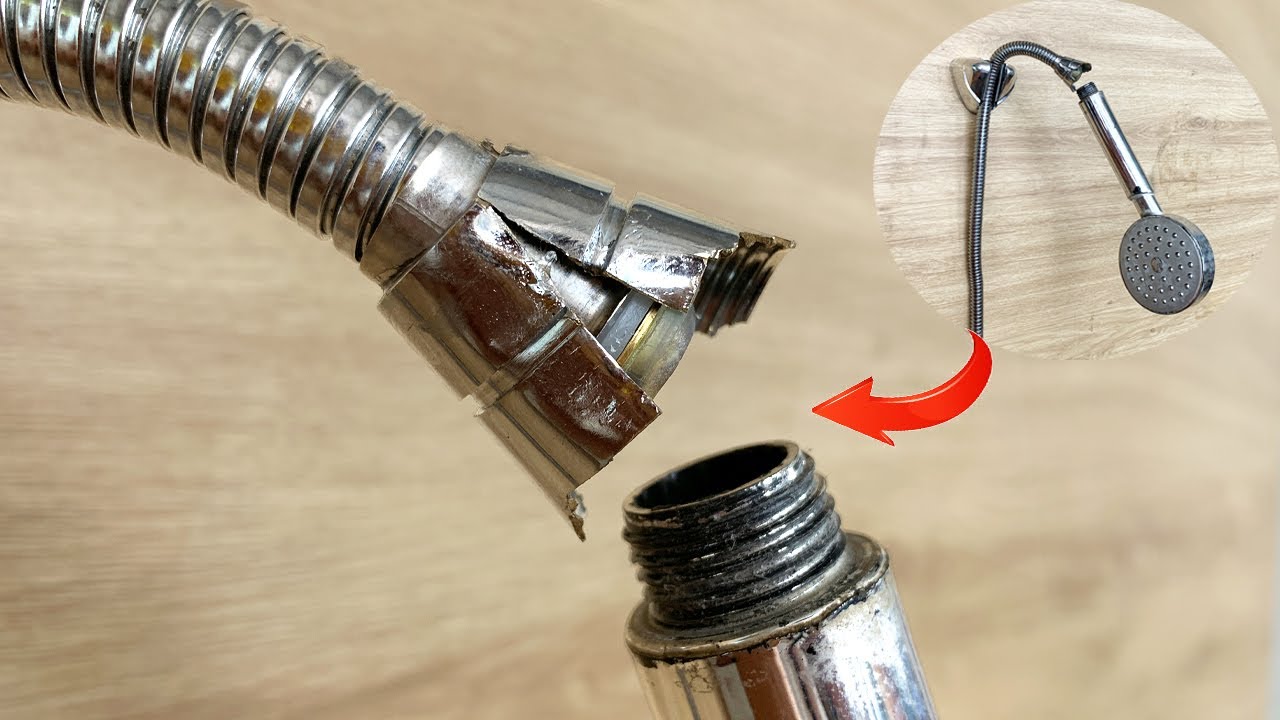
Dealing with a leaking shower can be a frustrating experience. You may notice water pooling on the floor or a drop in water pressure that leaves you wondering what’s gone wrong. It’s not just an inconvenience; it can lead to further water damage if not addressed. Navigating the process of repairing it can seem daunting, but with the right approach, you can tackle it confidently. Let’s explore how you can fix your shower using PVC pipes, starting with some essential materials.
Required Materials
Before you dive into the repair, gather the following materials to ensure a smooth process:
- PVC pipes in the necessary sizes
- PVC pipe fittings such as elbows and tees
- PVC cement and primer
- A measuring tape
- A saw for cutting the pipes
- A utility knife
- A pipe wrench
Step-by-Step Guide
Now that you have your materials ready, follow this step-by-step guide for repairing your shower:
1. Turn Off Water Supply
Before starting any repair work, it’s essential to completely turn off the water supply to prevent any unexpected leaks.
2. Remove the Damaged Section
Using your utility knife, carefully cut away the damaged section of the PVC pipe. Ensure you have at least a few inches of good pipe left on either side for fittings.
3. Measure and Cut New PVC Pipe
Measure the length of pipe you need to replace the old section, and then cut the new PVC pipe accordingly. Double-check your measurements to ensure a snug fit.
4. Attach Fittings and Pipes
Apply PVC primer to the ends of both the new pipe and existing pipe sections. Then, coat them with PVC cement before quickly joining the pieces. Hold them in place for a few seconds to secure the bond.
5. Test for Leaks
Once everything is in place, it’s time to turn the water supply back on and check for leaks. If everything is dry, you have successfully repaired your shower!
Common Mistakes
Even simple DIY projects can have pitfalls. Avoid these common mistakes when repairing your shower:
- Not turning off the water supply, which can lead to a messy situation.
- Using the wrong size PVC pipes, causing fittings to be loose.
- Overusing PVC cement, which can weaken the bonds and create leaks.
- Neglecting to measure twice before cutting, wasting material.
- Failing to hold the pipes together long enough for the cement to set properly.
FAQ
What should I do if I still see leaks after repair?
If leaks persist, double-check your connections and consider replacing more than just the damaged section. It might also be beneficial to consult a professional.
Can I use PVC pipes in any shower?
Yes, PVC pipes are generally suitable for most shower setups, as long as they are compatible with your existing plumbing system.
Is it necessary to use primer with PVC cement?
Yes, using primer is crucial as it helps create a stronger bond between the pipes and fittings.
Conclusion
By following these steps, you can easily fix your shower with PVC pipes and prevent further issues. Have you ever tackled a plumbing repair yourself? Share your experiences in the comments!