5 Easy Steps to Grow Super-Fruitful Tomatoes Using Plastic Bottles
Grow Fruitful Tomatoes Using Plastic Bottles: A Practical Guide
Introduction
Picture this: you’ve chosen the perfect spot in your garden, you’re excited about your tomato plants, but they aren’t producing as wonderfully as you hoped. What if there was a way to make the most out of your gardening space and enjoy a fruitful harvest? Using plastic bottles can offer an innovative method to help you grow thriving tomatoes. Let’s explore how you can transform simple materials into a productive garden tool.
Required Materials
Before diving into the process, gather the following materials to make your tomato gardening experience enjoyable and effective:
- Plastic bottles (1 or 2-liter size works best)
- Potting soil or garden soil
- Tomato seeds or seedlings
- Garden tools (trowel, scissors)
- Watering can or hose
Step-by-Step Guide
Growing your tomatoes using plastic bottles is straightforward. Follow these 5 easy steps to ensure a fruitful garden:
- Prepare the Bottles: Clean and remove labels from your plastic bottles. Cut them in half, creating two separate pieces. Ensure that the bottom half has holes for drainage.
- Fill with Soil: Fill the bottom half of each bottle with your chosen potting soil, leaving a little space at the top for planting.
- Plant the Seeds: If you’re using seeds, plant two or three per bottle, covering them lightly with soil. If you’re using seedlings, simply transplant one into each bottle.
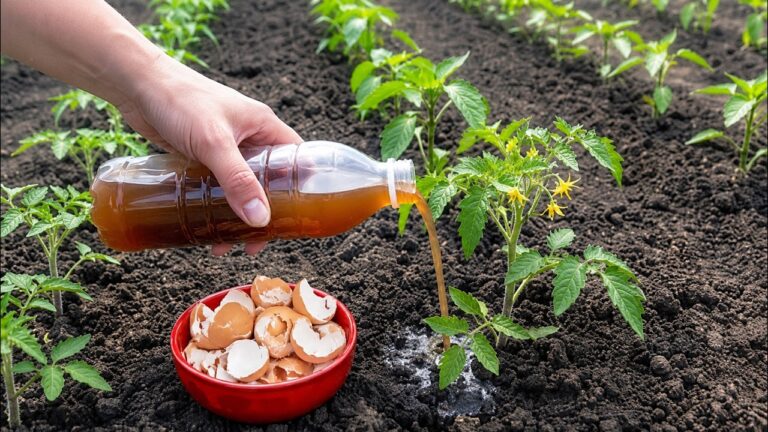
- Water Regularly: Water your bottles gently to keep the soil moist, ensuring that the excess can drain properly through the holes.
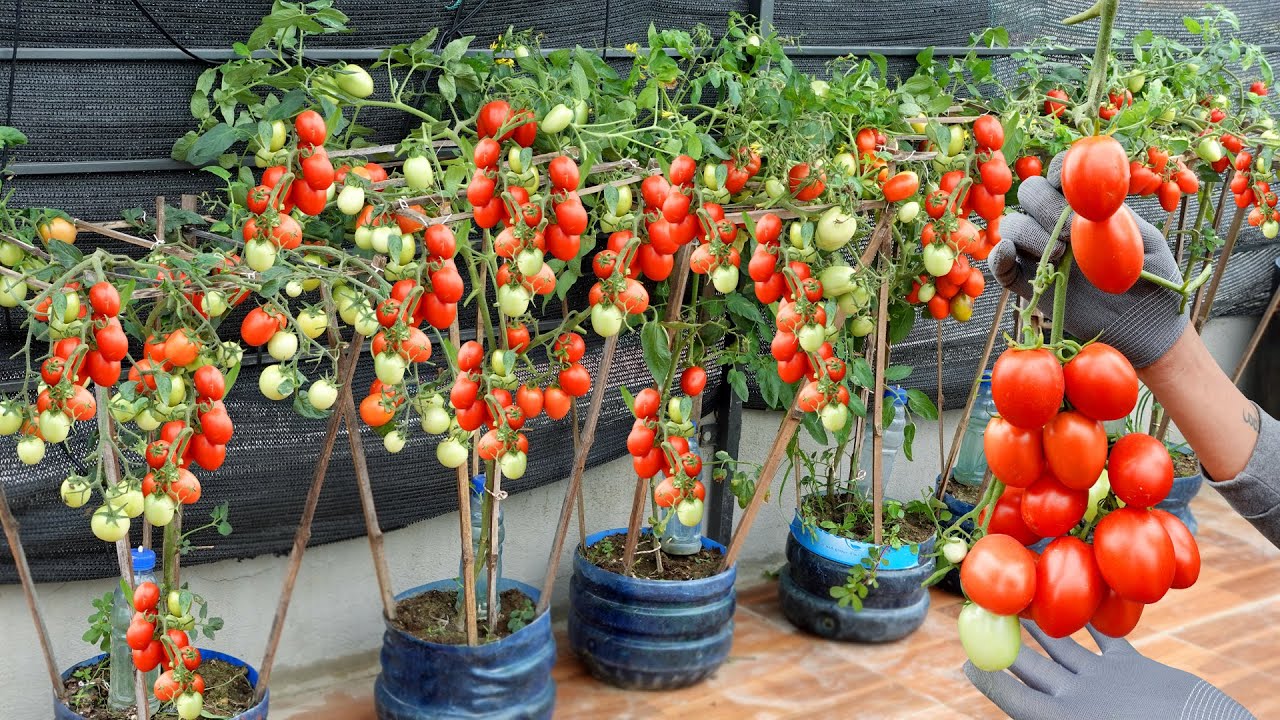
- Provide Support: As your tomato plants grow, consider using stakes or tying them to a sturdy structure to keep them upright and healthy.
Tips for Success
Here are additional tips to enhance your growing experience:
- Position your bottles in a location that receives ample sunlight, ideally 6-8 hours per day.
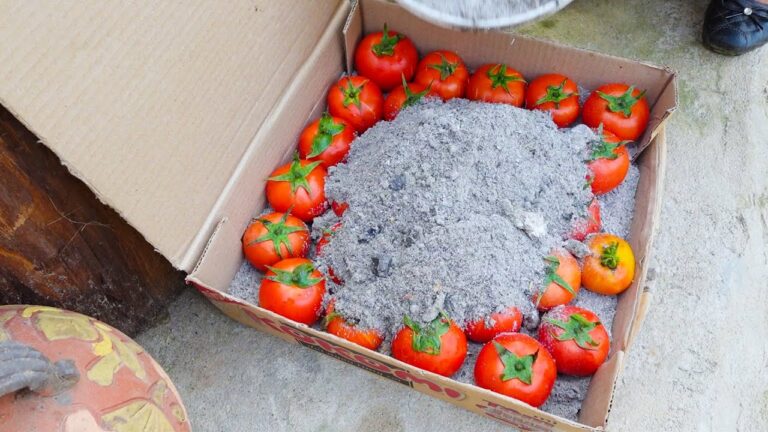
- Use a high-quality potting mix to provide essential nutrients.
- Keep an eye on the moisture level; don’t let the soil dry out completely.
Visual Appeal
For a more aesthetic touch, consider painting the bottles in your favorite colors or patterns. This not only adds personality to your garden but can also help to blend them into your outdoor space.
Common Mistakes
Avoiding common pitfalls will help you achieve the best results with your tomato plants. Here are some common mistakes gardeners make:
- Not providing sufficient sunlight exposure, which can lead to weak plants.
- Overwatering, which can cause root rot and hinder growth.
- Using poor-quality soil that doesn’t retain moisture and nutrients.
- Neglecting to ventilate the bottles, which may trap humidity and promote disease.
- Planting too many seeds in one bottle, leading to overcrowding.
FAQ
How deep should I plant tomato seeds in the bottle? It’s best to plant tomato seeds about 1/4 inch deep in the soil within the bottle.
Can I grow different types of tomatoes in one bottle? It’s advisable to stick to one type per bottle to prevent overcrowding and ensure each plant gets enough nutrients.
What should I do if my plants don’t grow as expected? Check your watering practices and sunlight exposure. Adjust these factors for better growth conditions.
Conclusion
By utilizing plastic bottles, you can create a unique and space-efficient way to grow fruitful tomatoes. Keep in mind the essential steps and common pitfalls discussed to make your gardening journey successful. What methods do you use to enhance your tomato yields? Your experiences could inspire others!