5 Easy 5-Minute DIY Ribbon Flower Hair Clips for Beginners
5 Easy 5-Minute DIY Ribbon Flower Hair Clips for Beginners
Introduction
Have you ever found yourself needing a quick but stylish accessory for your hair, perhaps for a casual day out or a special occasion? You might be short on time, but you still want something unique that reflects your personal style. Making DIY ribbon flower hair clips is a wonderful way to create something beautiful and functional in just a few minutes. These clips not only allow you to express your creativity but also enhance your outfits effortlessly. Keep reading to discover how easy it is to make your own!
Required Materials
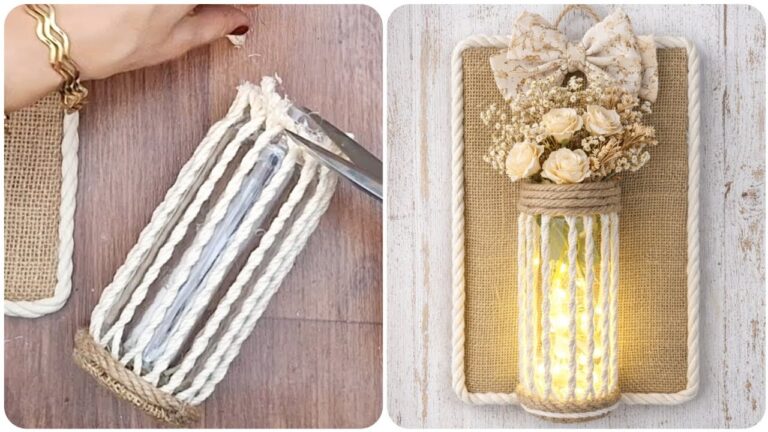
To make your own ribbon flower hair clips, you’ll need a few simple materials. Gather these items before you start to ensure a smooth crafting experience:
- Various ribbons (both satin and grosgrain work well)
- Hair clips or alligator clips
- Scissors
- Hot glue gun and glue sticks
- Optional: Beads or buttons for decoration
Step-by-Step Guide
Now that you have gathered your materials, let’s dive into creating your DIY ribbon flower hair clips:
1. Prepare Your Ribbon
- Cut the ribbon into various lengths. You’ll need about 5-7 pieces for each flower, typically ranging from 5 inches to 8 inches, depending on how large you want your flower to be.
- Fold each piece in half to form a loop. This will give your flower a fuller look.
2. Create the Flower Shape
- Layer the ribbon pieces on top of each other to create a flower shape. Start with the longest pieces and work your way to the shorter ones, placing them in a circular pattern.
- Glue each layer in place using your hot glue gun. Hold the ribbon for a moment to ensure it sticks well.
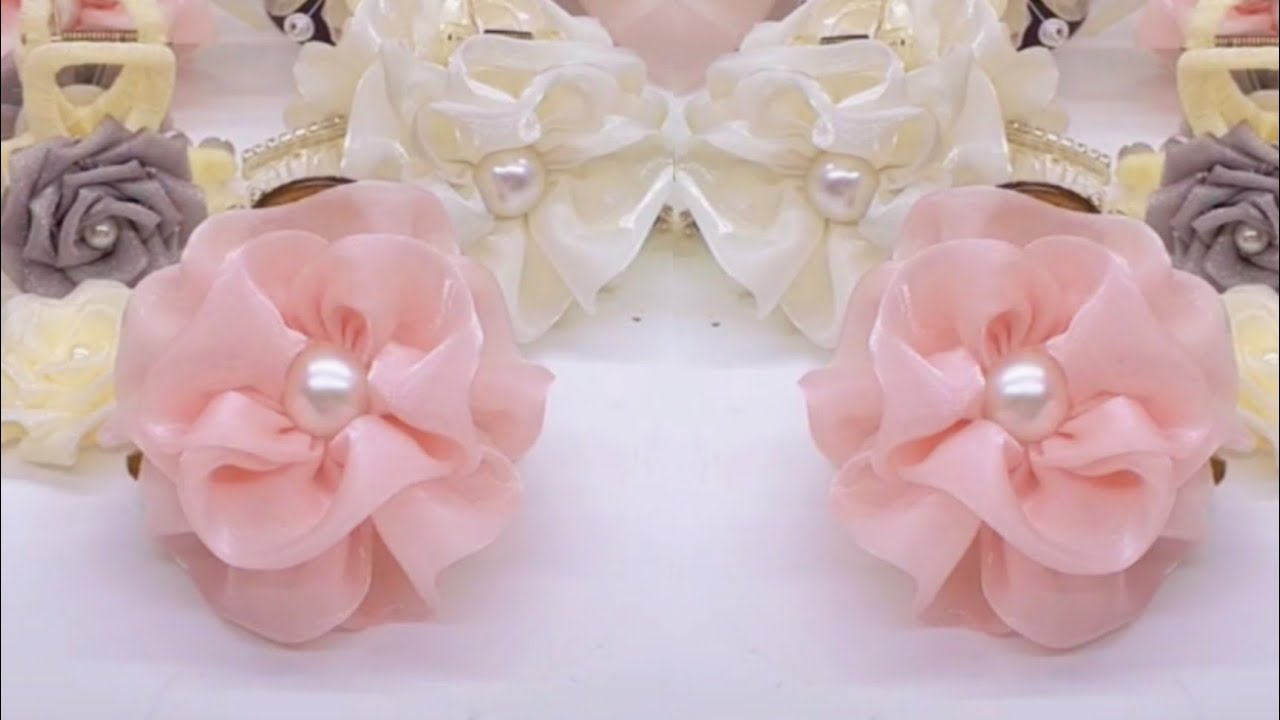
3. Attach the Center
- Choose a bead or button to place in the center of your flower. This will add a nice finishing touch.
- Apply glue to the center and securely attach your decoration.
4. Clip It Together
- Glue the base of the flower to the hair clip. Hold it in place for a few seconds to ensure it adheres properly.
- Allow it to cool and dry completely before wearing your new accessory.
5. Personalize Your Clip
Feel free to experiment with different ribbon colors and patterns. You might also try adding leaves made from green ribbon for a more natural look.
Common Mistakes to Avoid
As with any DIY project, there are some common pitfalls to watch out for when creating your DIY ribbon flower hair clips:
- Overheating the glue gun: Too hot glue can melt the ribbon, causing it to lose its shape.
- Using stiff ribbons: Some ribbons may not form the desired shape. Opt for softer fabrics for better results.
- Neglecting decoration: Leaving the center bare can make your flower appear incomplete—always add a bead or button!
- Too many layers: Adding too many ribbon loops can make the flower look bulky instead of full.
- Skipping drying time: Don’t rush to wear the clips before ensuring everything is dry; it could fall apart.
FAQ
What type of ribbon is best for hair clips?
Satin and grosgrain ribbons are excellent choices because they hold their shape well and look beautiful.
Can I use other materials to decorate my clips?
Absolutely! You can use buttons, beads, felt shapes, or even small faux flowers to personalize your clips.
How do I clean my ribbon flower hair clips?
Gently wipe them with a damp cloth. Avoid submerging them in water to keep the glue intact.
Conclusion
Creating your own DIY ribbon flower hair clips is a simple yet satisfying craft project that you can complete in just minutes. With a little creativity and some basic materials, you can make unique accessories that brighten up any outfit. What color combinations are you excited to try for your next clip?