10 Easy Steps to Create Stunning Paper Flower Wall Hangings for Your Home Decor
10 Easy Steps to Create Stunning Paper Flower Wall Hangings for Your Home Decor
Introduction
Imagine walking into your living space and being greeted by a vibrant display of flowers that you crafted yourself. Creating a paper flower wall hanging is not only a fulfilling activity but also adds a personal touch to your decor. This project is perfect for those who want to elevate their home aesthetics without spending a fortune. As you explore the steps to make these beautiful decorations, you’ll find that it’s easier than you think. Let’s delve into the world of crafting charming paper flowers for your walls.
Required Materials
Before you embark on creating your paper flower wall hangings, gather the following materials:
- Colored paper or cardstock in various shades
- Scissors
- Hot glue gun and glue sticks
- Wire or string for hanging
- Pencil for tracing
- Floral tape (optional)
Step-by-Step Guide
Creating your stunning paper flower wall hangings involves following these easy steps:
1. Choose Your Flower Design
Research different flower types you’d like to create. Simple designs like daisies or roses are great starting points.
2. Trace Flower Shapes
Using a pencil, trace your selected flower shapes onto colored paper. Aim for a variety of sizes for a dynamic look.
3. Cut Out Flower Templates
Carefully cut out the traced shapes with scissors, ensuring smooth edges for a polished finish.
4. Layer the Petals
To create depth, layer the petals for each flower. Start with a large base petal, followed by medium and small petals on top.
5. Attach Petals Together
Using your hot glue gun, attach the layers of petals. Hold them together for a few seconds to ensure they bond well.
6. Create the Flower Center
Form the center using small circular cuts of paper or beads. This adds eye-catching detail and completes your flower.
7. Secure the Wire or String
Attach a wire or string to the back of each flower for hanging. Make sure it’s securely glued to avoid any falls.
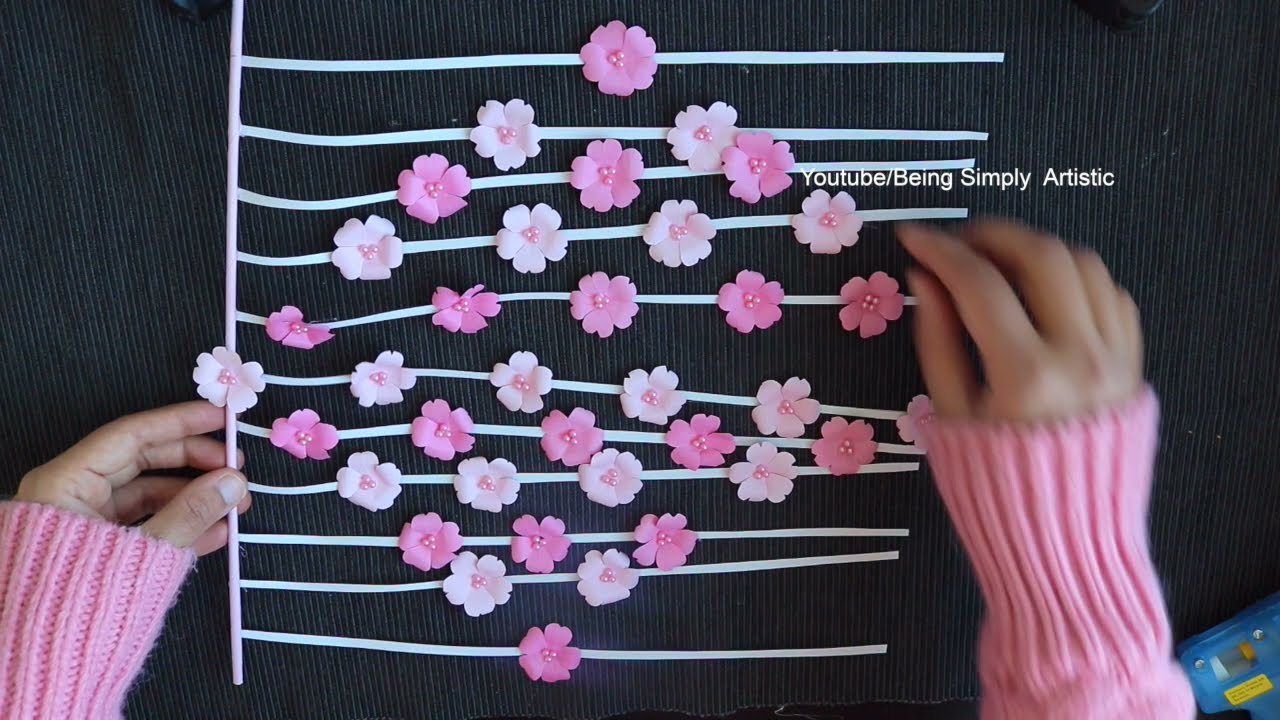
8. Plan Your Arrangement
Before hanging, lay out the flowers on the floor. Play with various arrangements until you’re satisfied with the look.
9. Hang Your Creation
Using hooks or nails, hang the flowers on your wall according to your planned arrangement. Step back and adjust if necessary.
10. Enjoy Your Work
Step back and admire your stunning paper flower wall hanging. This unique decor will bring warmth and creativity into your space.
Mistakes to Avoid
As you work on your paper flower wall hangings, being aware of common pitfalls can make your crafting experience smoother:
- Not using quality paper, which can lead to tearing or fading.
- Avoiding uneven petal sizes, which can create an awkward look.
- Neglecting to let glue dry fully before handling, which can loosen your flowers.
- Forgetting to plan your arrangement beforehand, leading to spacing issues.
- Using too many similar colors, which can make the display less vibrant.
FAQ
What type of paper is best for making paper flowers? Lightweight colored cardstock is recommended for durability and ease of cutting.
How do I store paper flowers if not displayed? Keep them in a dry, cool place away from direct sunlight to maintain their color and shape.
Can I use recycled paper for this project? Yes, recycled paper works wonderfully and adds a unique texture to your flowers.
Conclusion
Creating your own paper flower wall hangings is a delightful way to personalize your home decor. With just a few materials and steps, you can brighten your living space. What colors and designs do you plan to use for your paper flowers? Share your ideas in the comments!