Create 100 Pearl Bead Items in Just 3 Minutes and Sell for Profit!
Create 100 Pearl Bead Items in Just 3 Minutes
Introduction
If you’ve ever wanted to explore the world of crafting, creating pearl bead items might have crossed your mind. Picture your living space adorned with beautiful, handcrafted pieces made from just a few simple materials. The potential for creativity and personal expression is vast, yet it can feel overwhelming to get started. You may be wondering how you can make this a reality without spending countless hours on each piece. Read on to find out how you can simplify the crafting process and bring your unique vision to life.
Required Materials
Before diving into your crafting session, you’ll need to gather a few essential materials to create pearl bead items efficiently.
- Pearl beads in various sizes and colors
- Jewelry wire or string for threading
- Scissors to cut the wire or string
- Jewelry pliers to secure beads and wire ends
- Adhesive or glue for additional hold, if necessary
Having all your materials ready will streamline your crafting process, allowing for a more enjoyable experience.
Step-by-Step Guide
Creating pearl bead items can be simple and quick. Here’s how you can make stunning pieces in just a few minutes.
1. Prep Your Workspace
Clear a flat surface and gather all required materials. This not only makes your crafting efficient but ensures you’re in a comfortable setup. A well-lit area can also be beneficial for detailed work.
2. Choose Your Design
Think about the item you want to make — whether it’s a necklace, bracelet, or earrings.
- For necklaces, consider the length and whether you’d like a simple or layered look.
- For bracelets, measure your wrist to determine the ideal length.
- Earrings can be simple drops or intricate chandeliers, depending on your style.
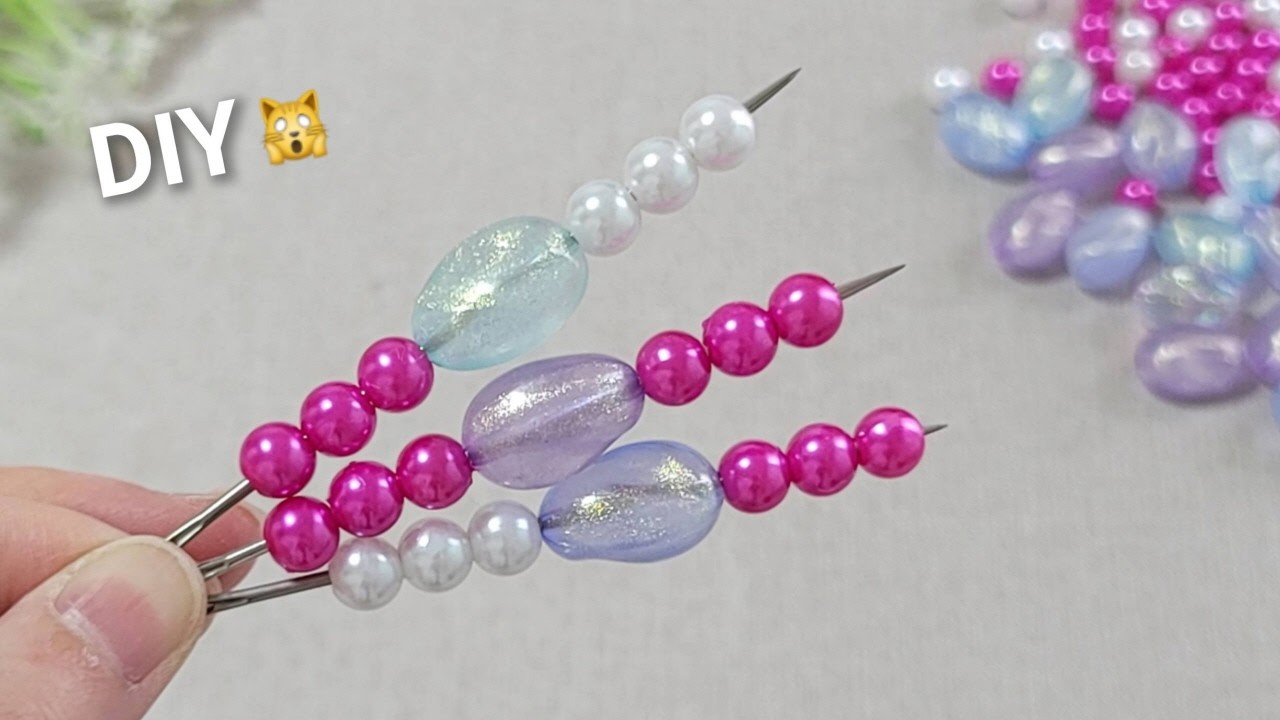
3. String the Beads
Now comes the fun part! Take your wire or string and begin threading the beads according to your design.
- Cut a suitable length of wire or string, leaving extra for securing your item.
- Thread the beads in your chosen order, allowing for spacing between larger beads.
- Secure the ends with jewelry pliers, making sure the beads are snug but can still move slightly for flexibility.
4. Add Finishing Touches
Depending on your design, you might want to add clasps, additional decorative elements, or even a bit of glue for extra stability. A little embellishment can take your piece from simple to stunning.
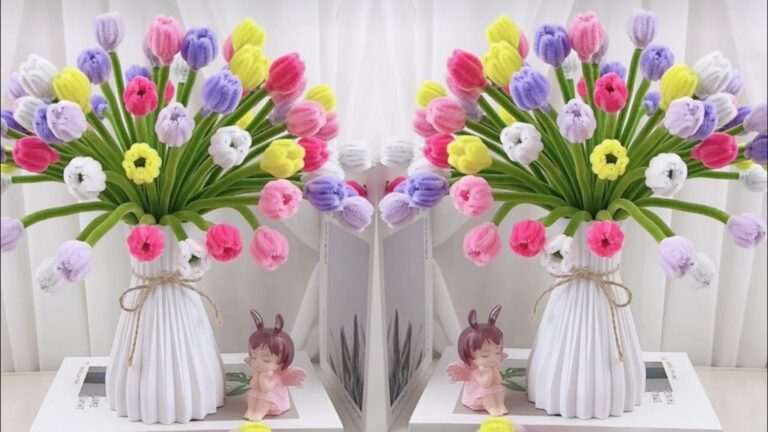
5. Display Your Craft
Once completed, think about how you want to showcase or gift your pearl bead item. Display it on a decorative stand or pack it creatively for gifting.
Common Mistakes
As you embark on your crafting journey, here are some mistakes to avoid for the best results:
- Not securing beads properly can lead to items falling apart.
- Overloading jewelry wire with too many heavy beads may cause it to break.
- Skipping the cleanup of your workspace can lead to lost materials.
- Failing to measure accurately might result in pieces that don’t fit correctly.
- Choosing the wrong materials can affect the final appearance of your item.
FAQ
1. How long does it take to create a pearl bead item?
With preparation, creating a basic pearl bead item can take as little as 5 to 10 minutes.
2. What types of beads can I use?
You can use various types of beads alongside pearl beads, from glass to wooden pieces, depending on your design.
3. Can I wash my pearl bead items?
It’s best to avoid water; instead, use a soft cloth to clean them and maintain their elegant look.
Conclusion
With just a few materials and some straightforward steps, you can successfully create beautiful pearl bead items in no time. Whether for yourself or as a thoughtful gift, these handcrafted pieces add a personal touch to any setting. What type of pearl bead item are you excited to create? Share your thoughts in the comments!