This simple gesture turns cardboard rolls into an eye-catching yarn organizer…
This Simple Gesture Turns Cardboard Rolls into an Eye-Catching Yarn Organizer
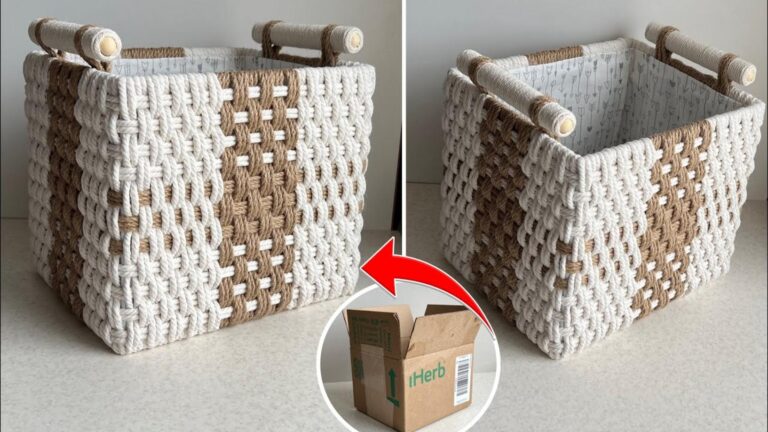
Are you tired of tangled yarn and messy storage? With just a few cardboard rolls, you can transform your yarn-holding chaos into a stylish, organized solution. This **simple DIY project** will not only declutter your space but also give it a personal touch. Let’s dive into how to create your very own eye-catching yarn organizer!
Materials You’ll Need
- Cardboard rolls (toilet paper or paper towel)
- Decorative paper or fabric
- Craft glue or tape
- Scissors
- Optional: markers or paint for extra decoration
Step-by-Step Instructions
Step 1: Prepare Your Cardboard Rolls
Start by collecting empty **cardboard rolls**. Depending on the size and quantity of your yarn, you may need about 5 to 10 rolls. Ensure they are clean and free from any labels.
Step 2: Cut and Shape
With scissors, cut the rolls to your desired height. A standard height of 6 inches works well for storing various yarn types. You can also create different sizes for different yarn purposes!
Step 3: Decorate Your Rolls
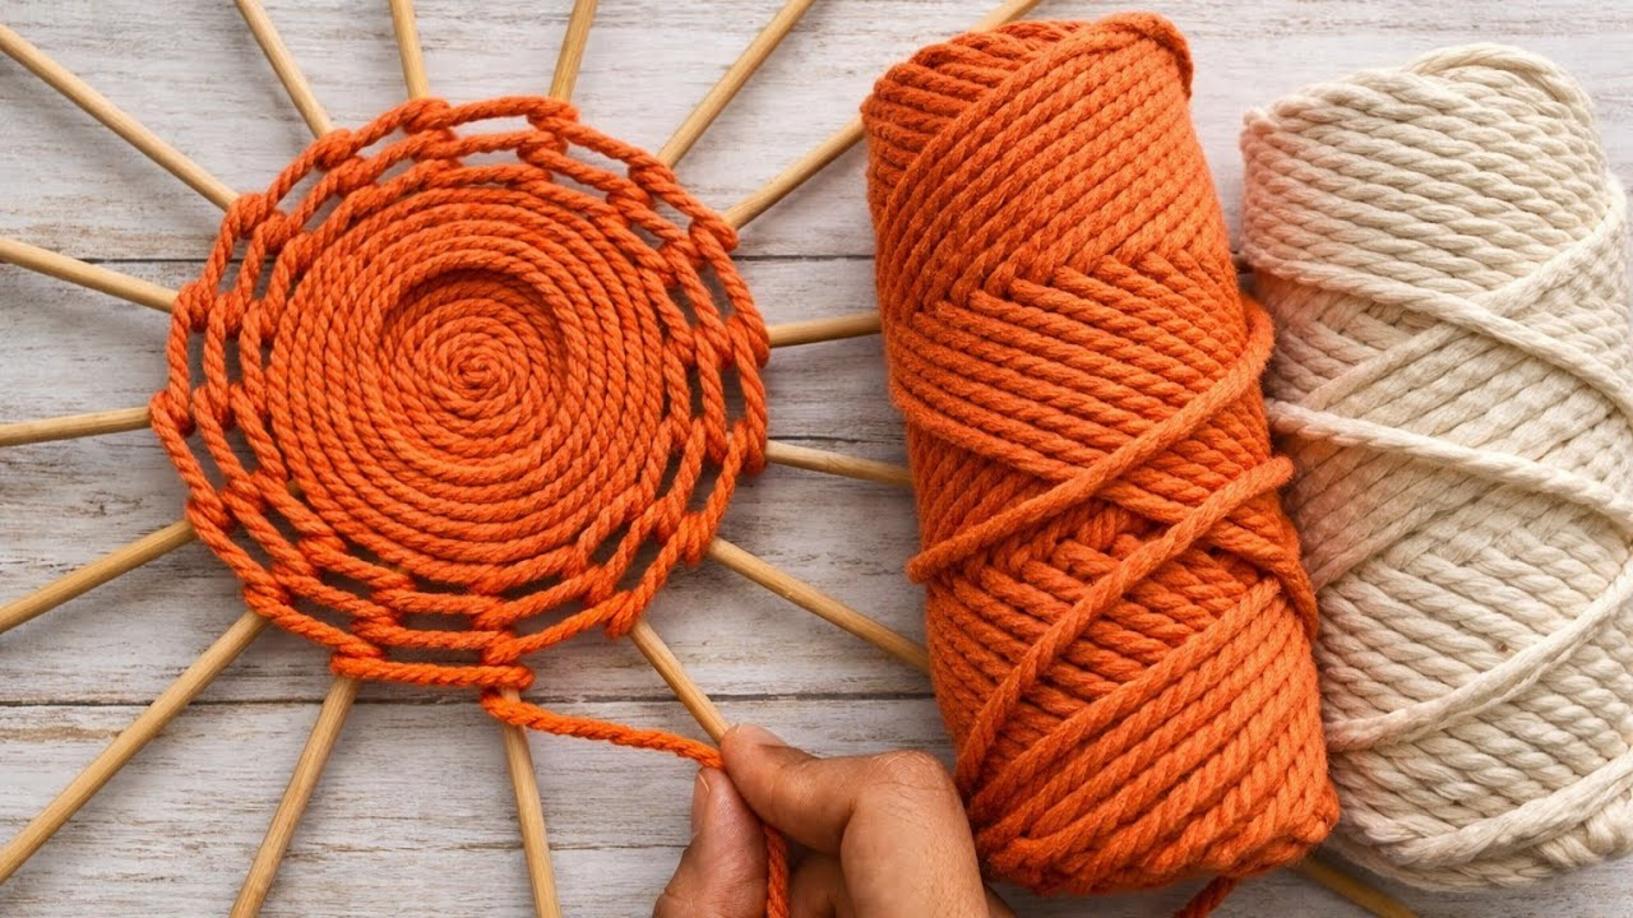
Now comes the fun part! Wrap the **decorative paper or fabric** around each roll. Secure it with craft glue or tape. If you’re feeling extra creative, use markers or paint to add designs. The more personal, the better!
Step 4: Assemble Your Organizer
Once the rolls are dry and decorated, arrange them in a container or a box. You can glue them together or leave them loose for a more casual look. An old basket works wonderfully for this purpose.
Practical Tips for a Successful Project
- Don’t rush the decorating phase; take your time for a polished look.
- Use different colors and patterns to make it vibrant and inviting.
- Label your rolls for easy identification of yarn types.
Common Mistakes to Avoid
- Skipping the cleaning process; ensure your rolls are free of dust and residue.
- Using low-quality glue; it’s crucial to have a strong hold when storing yarn.
- Overlooking the height; make sure your rolls are tall enough to accommodate your yarn without it falling out!
Conclusion: Create Your Yarn Wonderland
This simple DIY project can transform your crafting space into a **organized haven**. By giving new life to cardboard rolls, you not only help the environment but also create a practical and beautiful yarn organizer. So gather your materials and start creating! Your yarn deserves a special home that reflects your creativity.
Ready to tackle this project? Get started today, and enjoy a clutter-free crafting experience!