The hair dryer leaves the bathroom for this radiator trick
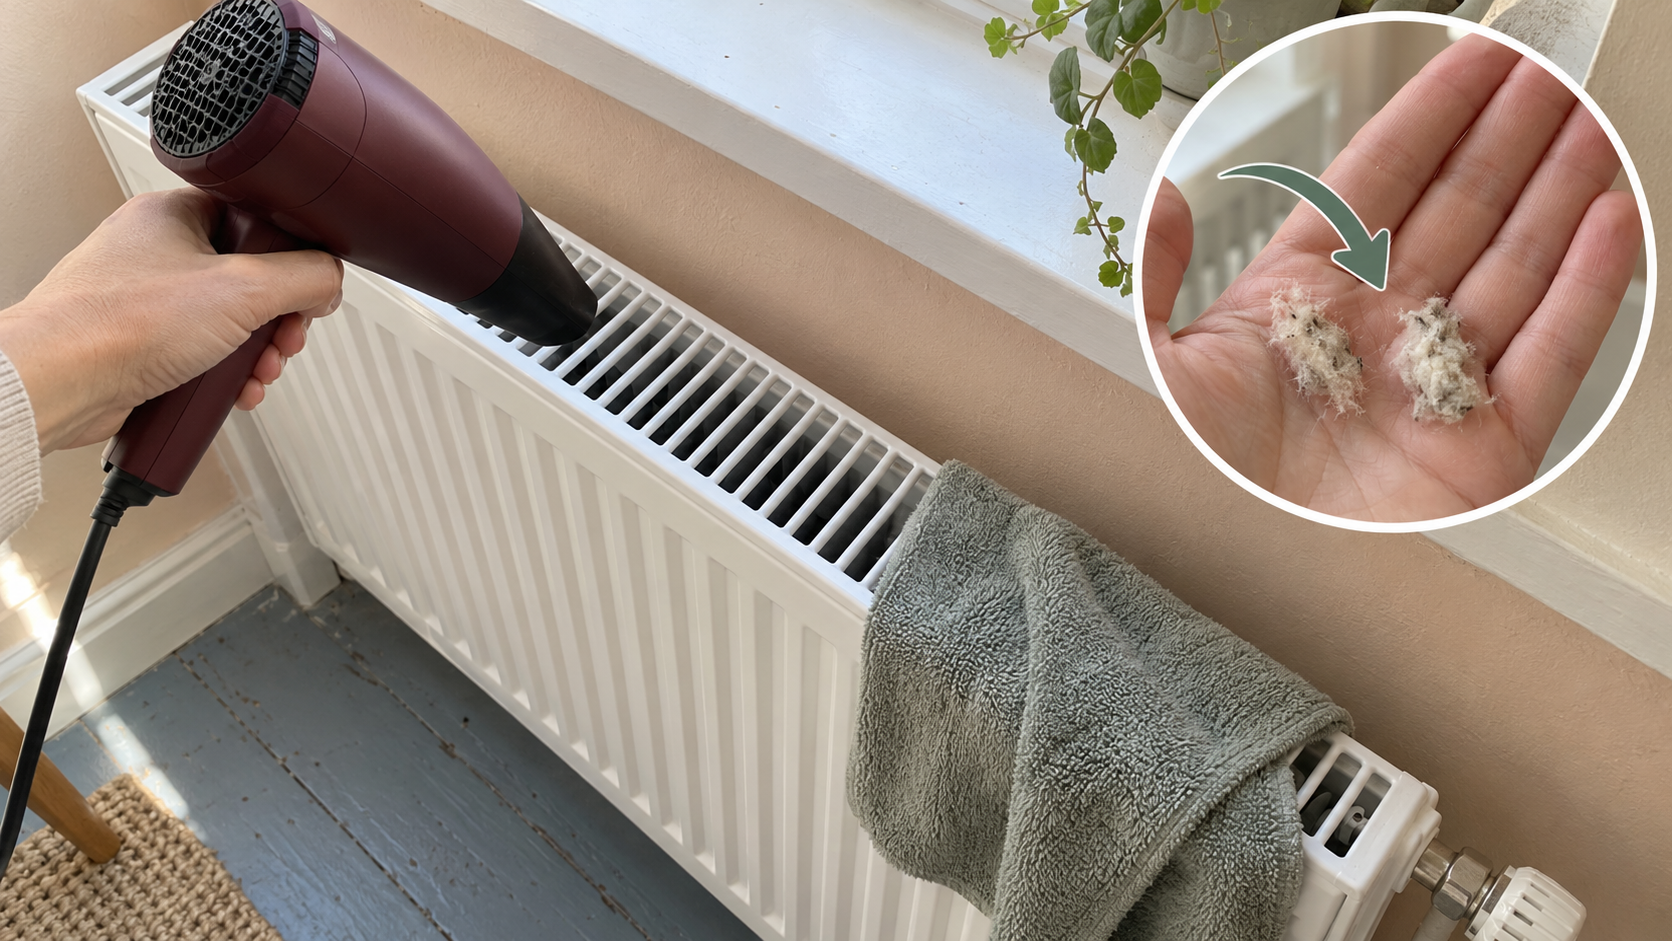
Blowing dust out can make the radiator look cleaner while spreading particles over the room. Before using a hair dryer, check the design and consider a soft brush with a vacuum instead. Any permitted airflow must be cool, controlled, and kept away from moisture.
## Cleaning radiator dust without spreading it around the room
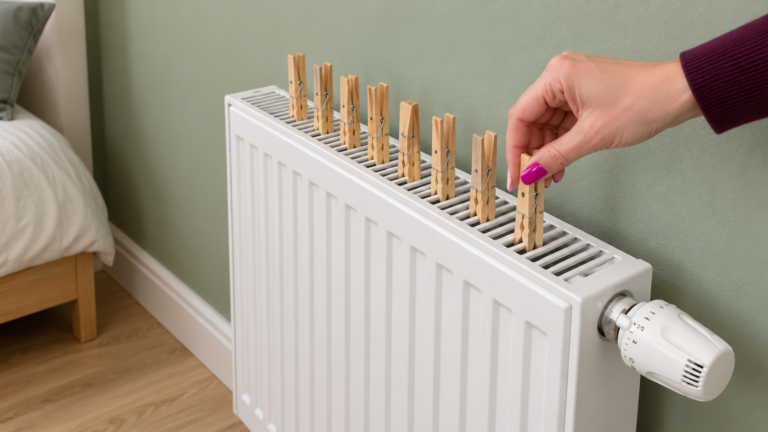
The visible front of a radiator may look clean while dust remains between its fins, behind the unit, and beneath the upper grille. The practical goal is to loosen that dust and collect it immediately. A bag or hair dryer is only an accessory in that process. Neither fixes a heating fault, and neither makes every radiator clean in a few seconds.
These instructions concern the exterior of a typical hot-water radiator. Electric heaters, steam systems, and other designs require their own manufacturer instructions. Switch off the equipment as directed and let it cool completely. Do not insert tools into electrical openings or adjust unfamiliar steam fittings. Move nearby objects and protect the floor before beginning.
### A controlled cleaning sequence
Use a suitable vacuum attachment to collect loose dust from the top, bottom, and accessible rear area. Guide a soft radiator brush through reachable passages without bending fins or scratching the finish. Work downward and vacuum the particles as they fall. Remove a grille only when the manual identifies that as a normal maintenance step. Do not pry off a stuck cover or loosen pipe connections.
Wipe compatible exterior surfaces with a barely damp cloth, then dry them. Do not pour water through the radiator. An open bag placed underneath a cold unit can catch some debris, but it should not be wrapped around an operating heater or left hanging on its controls. Remove every temporary cover before restarting.
### Where the hair dryer idea falls short
A hair dryer can blow dust into the room instead of collecting it. A brush and vacuum usually provide better control. If the manufacturer’s design permits an air-cleaning approach, use only a gentle cool airflow without touching the unit and keep electrical equipment away from damp cloths. Stop if particles are spreading. There is little benefit in moving dust out of the radiator and onto nearby furniture.
### What to check if heating still seems weak
Keep curtains and furniture from blocking the unit. Uneven heating, unusual noises, and leaks need a separate assessment. Air in a hot-water radiator is only one possible cause, and bleeding must follow the system instructions. Do not apply that advice indiscriminately to steam or electric equipment. Removing external dust is routine maintenance, not a guarantee of doubled heat output or a particular reduction in utility costs.
## Prepare the area before you begin
Start by inspecting the accessible exterior of the radiator in clear daylight. A deposit sitting on the surface is different from a change in the material itself. Loose dust, a greasy film, and a hard mineral deposit do not respond to the same approach. Discoloration caused by age may remain after the surface is perfectly clean. Making that distinction early helps you avoid repeated treatments that cannot solve the underlying problem.
Look for care instructions and identify the material whenever possible. Check neighboring parts as well as the main surface. Seals, painted edges, hinges, and decorative finishes may tolerate less moisture or friction than the larger area around them. A cleaner that is suitable for one component is not automatically suitable for the entire object. When the finish is unknown, start conservatively rather than trying an aggressive restoration method.
Put your supplies within reach before starting. A clean soft cloth, a second cloth for finishing, and a suitable soft brush are often more useful than a shelf full of products. Keep bathroom cleaning supplies separate from items used around food. Leave cleaners in their original containers so that dilution directions, contact times, and precautions remain available. Do not transfer an unidentified mixture into a beverage bottle.
## Test a small area and let it dry
If the care instructions allow your chosen method, test it in an inconspicuous spot. Treat a small section and inspect it after it has dried completely. A wet surface can look darker or shinier and create a misleading impression of improvement. Watch for color transferring to the cloth, a sticky finish, swelling at an edge, or a change in texture. These are reasons to stop and reassess.
For the accessible exterior of the radiator, compare the test area with an adjacent untreated section. That gives you a useful reference instead of relying on memory. Look at both sections under the same light. If the treated part is genuinely cleaner and the material has not changed, continue gradually. If the difference disappears as soon as the surface dries, additional rubbing may not produce the result you were expecting.
## Use a controlled amount of cleaner
Follow the dilution directions for the product you select. The recommended amount is not a minimum that should automatically be increased. Excess cleaner can leave a film, require additional rinsing, or produce an uneven finish. Measure when the label calls for a measured dose. Prepare only what you need, rather than storing a homemade mixture whose ingredients and concentration may be forgotten later.
Do not combine different cleaners. In particular, chlorine bleach must not be mixed with acids, vinegar, or ammonia. Familiar household ingredients are not automatically compatible with one another. If you change methods, remove the previous product as directed before applying anything else. Never assume that a product is gone simply because its smell has faded. Follow both the surface instructions and the cleaner’s label.
Work in manageable sections. Turn the cloth when one side becomes dirty, and replace water that is carrying visible residue. Using the same loaded cloth over the entire area tends to redistribute dirt. Where damp cleaning is appropriate, finish with a separate clean, well-wrung cloth to remove remaining product. Dry moisture-sensitive edges and connections instead of leaving water to collect in places that are difficult to inspect.
## Check the result beyond the obvious area
Inspect the accessible exterior of the radiator from more than one angle when you have finished. Light coming from the side makes streaks and overlooked edges easier to see. Check accessible corners and the spots that receive the most handling. Those small areas can retain residue after a quick cleaning. A focused second pass is often more useful than repeating the full treatment across sections that are already clean.
A remaining mark does not necessarily call for stronger chemicals. It might be a scratch, an old color change, or damage to a protective finish. If the surface is becoming rough, soft, cracked, or flaky, further rubbing can make the problem worse. At that point, identify the condition of the material before continuing. Cleaning removes deposits; repairs and refinishing address different kinds of deterioration.
## Build a routine around actual use
Choose an upkeep schedule that matches how the item is used. Frequently handled areas need closer attention than surfaces that are rarely exposed. Watch for practical signals: a returning deposit, persistent dampness, an unfamiliar odor, or a decline in normal function. These observations are more useful than applying one rigid schedule to every household, regardless of ventilation, water quality, occupancy, or daily habits.
If several people share cleaning duties, agree on one straightforward method. That helps prevent products from being applied one after another without anyone knowing what is already present. Keep a note of the compatible cleaner and store care instructions where they are easy to find. The next cleaning session should be simpler because you can repeat a known process instead of experimenting again from the beginning.
## Frequently asked questions about gentle maintenance
### Does a strong fragrance mean the cleaning worked?
No. Fragrance says little about whether residue has been removed. It can cover an odor without addressing the source. If the smell returns, inspect for trapped moisture, missed deposits, or an underlying maintenance issue. Adding another scented product does not replace that check. A satisfactory result should be judged by the condition of the surface and its normal function, not by the intensity of its perfume.
### When is a second treatment worthwhile?
A targeted second pass may help when the first one visibly removed dirt without changing the material, provided the instructions allow repetition. Concentrate on the remaining affected area. If the first attempt made no difference, reconsider the diagnosis before continuing. Repeating an ineffective treatment for longer can increase wear without reaching the cause of the mark or deposit.
### How can this task take less time next time?
Keep suitable supplies ready, measure the product correctly, and include the finishing step from the outset. Missing the final wipe, rinse, or drying stage often creates the need to start over. For the accessible exterior of the radiator, a complete, repeatable process is more useful than a dramatic shortcut whose result disappears after the surface dries or the item is used again.