7 Simple Steps to Grow Your Own Mushrooms at Home
7 Simple Steps to Grow Your Own Mushrooms at Home
- Required Materials
- Preparing the Substrate
- Inoculating the Substrate
- Maintaining Growing Conditions
- Common Mistakes to Avoid
- FAQ
Imagine stepping into your kitchen and being greeted by the earthy aroma of freshly grown mushrooms. Growing your own mushrooms at home can be an enjoyable and rewarding experience, but it also presents unique challenges. You might wonder how to ensure perfect conditions for your fungi friends or which materials are best suited for their growth. Whatever your concerns may be, this guide will walk you through the essential steps needed to embark on your mushroom-growing adventure.
Required Materials
Before diving into the world of mushroom cultivation, gathering the right materials is crucial for success. Here’s what you’ll need to get started:
- Mushroom spores or spawn: Choose the mushroom variety you prefer, such as oyster or shiitake.
- Growing medium: Options include straw, wood chips, or coffee grounds.
- Plastic bags or containers: These will hold your substrate and spores during the growing process.
- Tools: A mixing spoon, scissors, and a spray bottle for maintaining humidity are helpful.
Having these materials ready will set the stage for a smooth growing experience.
Preparing the Substrate
The substrate serves as the nutrients for your mushrooms, making its preparation paramount. Follow these steps for optimal conditions:
- Choose your base: If you’re using straw, ensure it’s free from contaminants.
- Hydrate: Soak the substrate in water for several hours until fully saturated.
- Drain: Allow excess water to drain away, ensuring the substrate is moist but not soggy.
Tip for Success
Adding a layer of quality compost can enhance the nutrient content of your substrate.
Inoculating the Substrate
Now that your substrate is ready, it’s time to introduce the mushroom spores. This step is critical for successful growth:
- Mix: In a clean environment, combine your mushroom spawn with the prepared substrate.
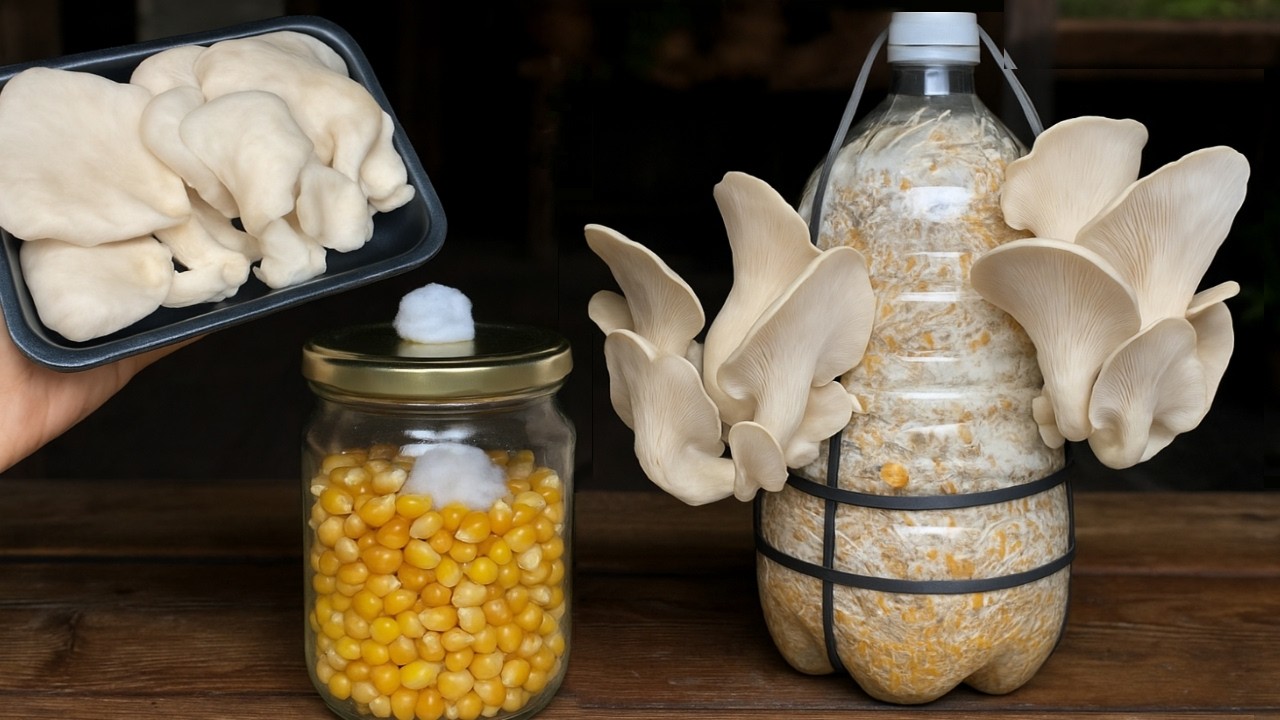
- Fill containers: Pack the mixture into your plastic bags or containers firmly.
- Seal: Close the containers or bags, leaving a small opening for air exchange.
Visual Detail
Picture your containers filled with the vibrant, rich mixture, ready to host a fungal feast. This visual connection can ignite excitement about the process!
Maintaining Growing Conditions
Proper conditions are vital for healthy mushroom growth. Here’s how to ensure your mushrooms thrive:
- Temperature: Keep your growing area warm, ideally between 65°F to 75°F (18°C to 24°C).
- Humidity: Mist the area regularly to maintain high humidity levels, ideally above 70%.
- Light: Provide indirect sunlight or low light for about 12 hours a day.
Advice for Monitoring
Check your containers daily for signs of growth and make adjustments to the conditions as necessary. Subtle changes can drastically affect your yield.
Common Mistakes to Avoid
While growing mushrooms can be straightforward, certain pitfalls can hinder your success. Be wary of these common mistakes:
- Not sanitizing equipment properly, leading to contamination.
- Using a substrate that is too dry or too wet, affecting growth rate.
- Ignoring the air exchange, which can suffocate the mushrooms.
FAQ
How long does it take for mushrooms to grow? Generally, mushrooms can take anywhere from 7 to 21 days to start fruiting, depending on the variety and conditions.
Can I grow mushrooms indoors? Yes, many mushroom varieties thrive indoors if the right conditions are maintained.
What’s the best way to store harvested mushrooms? Store fresh mushrooms in a paper bag in the refrigerator to prolong their freshness.
Conclusion
Growing your own mushrooms at home can be a fulfilling project that brings you closer to nature. By following these simple steps, you can enjoy a fresh harvest right from your kitchen. What types of mushrooms are you excited to grow?